[AD – in line with the new ASA regulations, i need to inform you that this course was a gift, there was no obligation however, for me to write this blogpost]
…
And I did!
Make my own shoes I mean!
Hellooooo!
How are you all?
So! As the blog title suggests (and if you followed my Instagram Stories last weekend, you’ll already know…)
… I spent last weekend, at the I Can Make Shoes studios in East London, making my own shoes.

Yup!
Me.
I made an actual, real (& most wearable) pair of shoes… from scratch!
I’d say aallll by myself, which is only true in the sense of the grafting involved – but it’s not quite true in truest sense, of course.
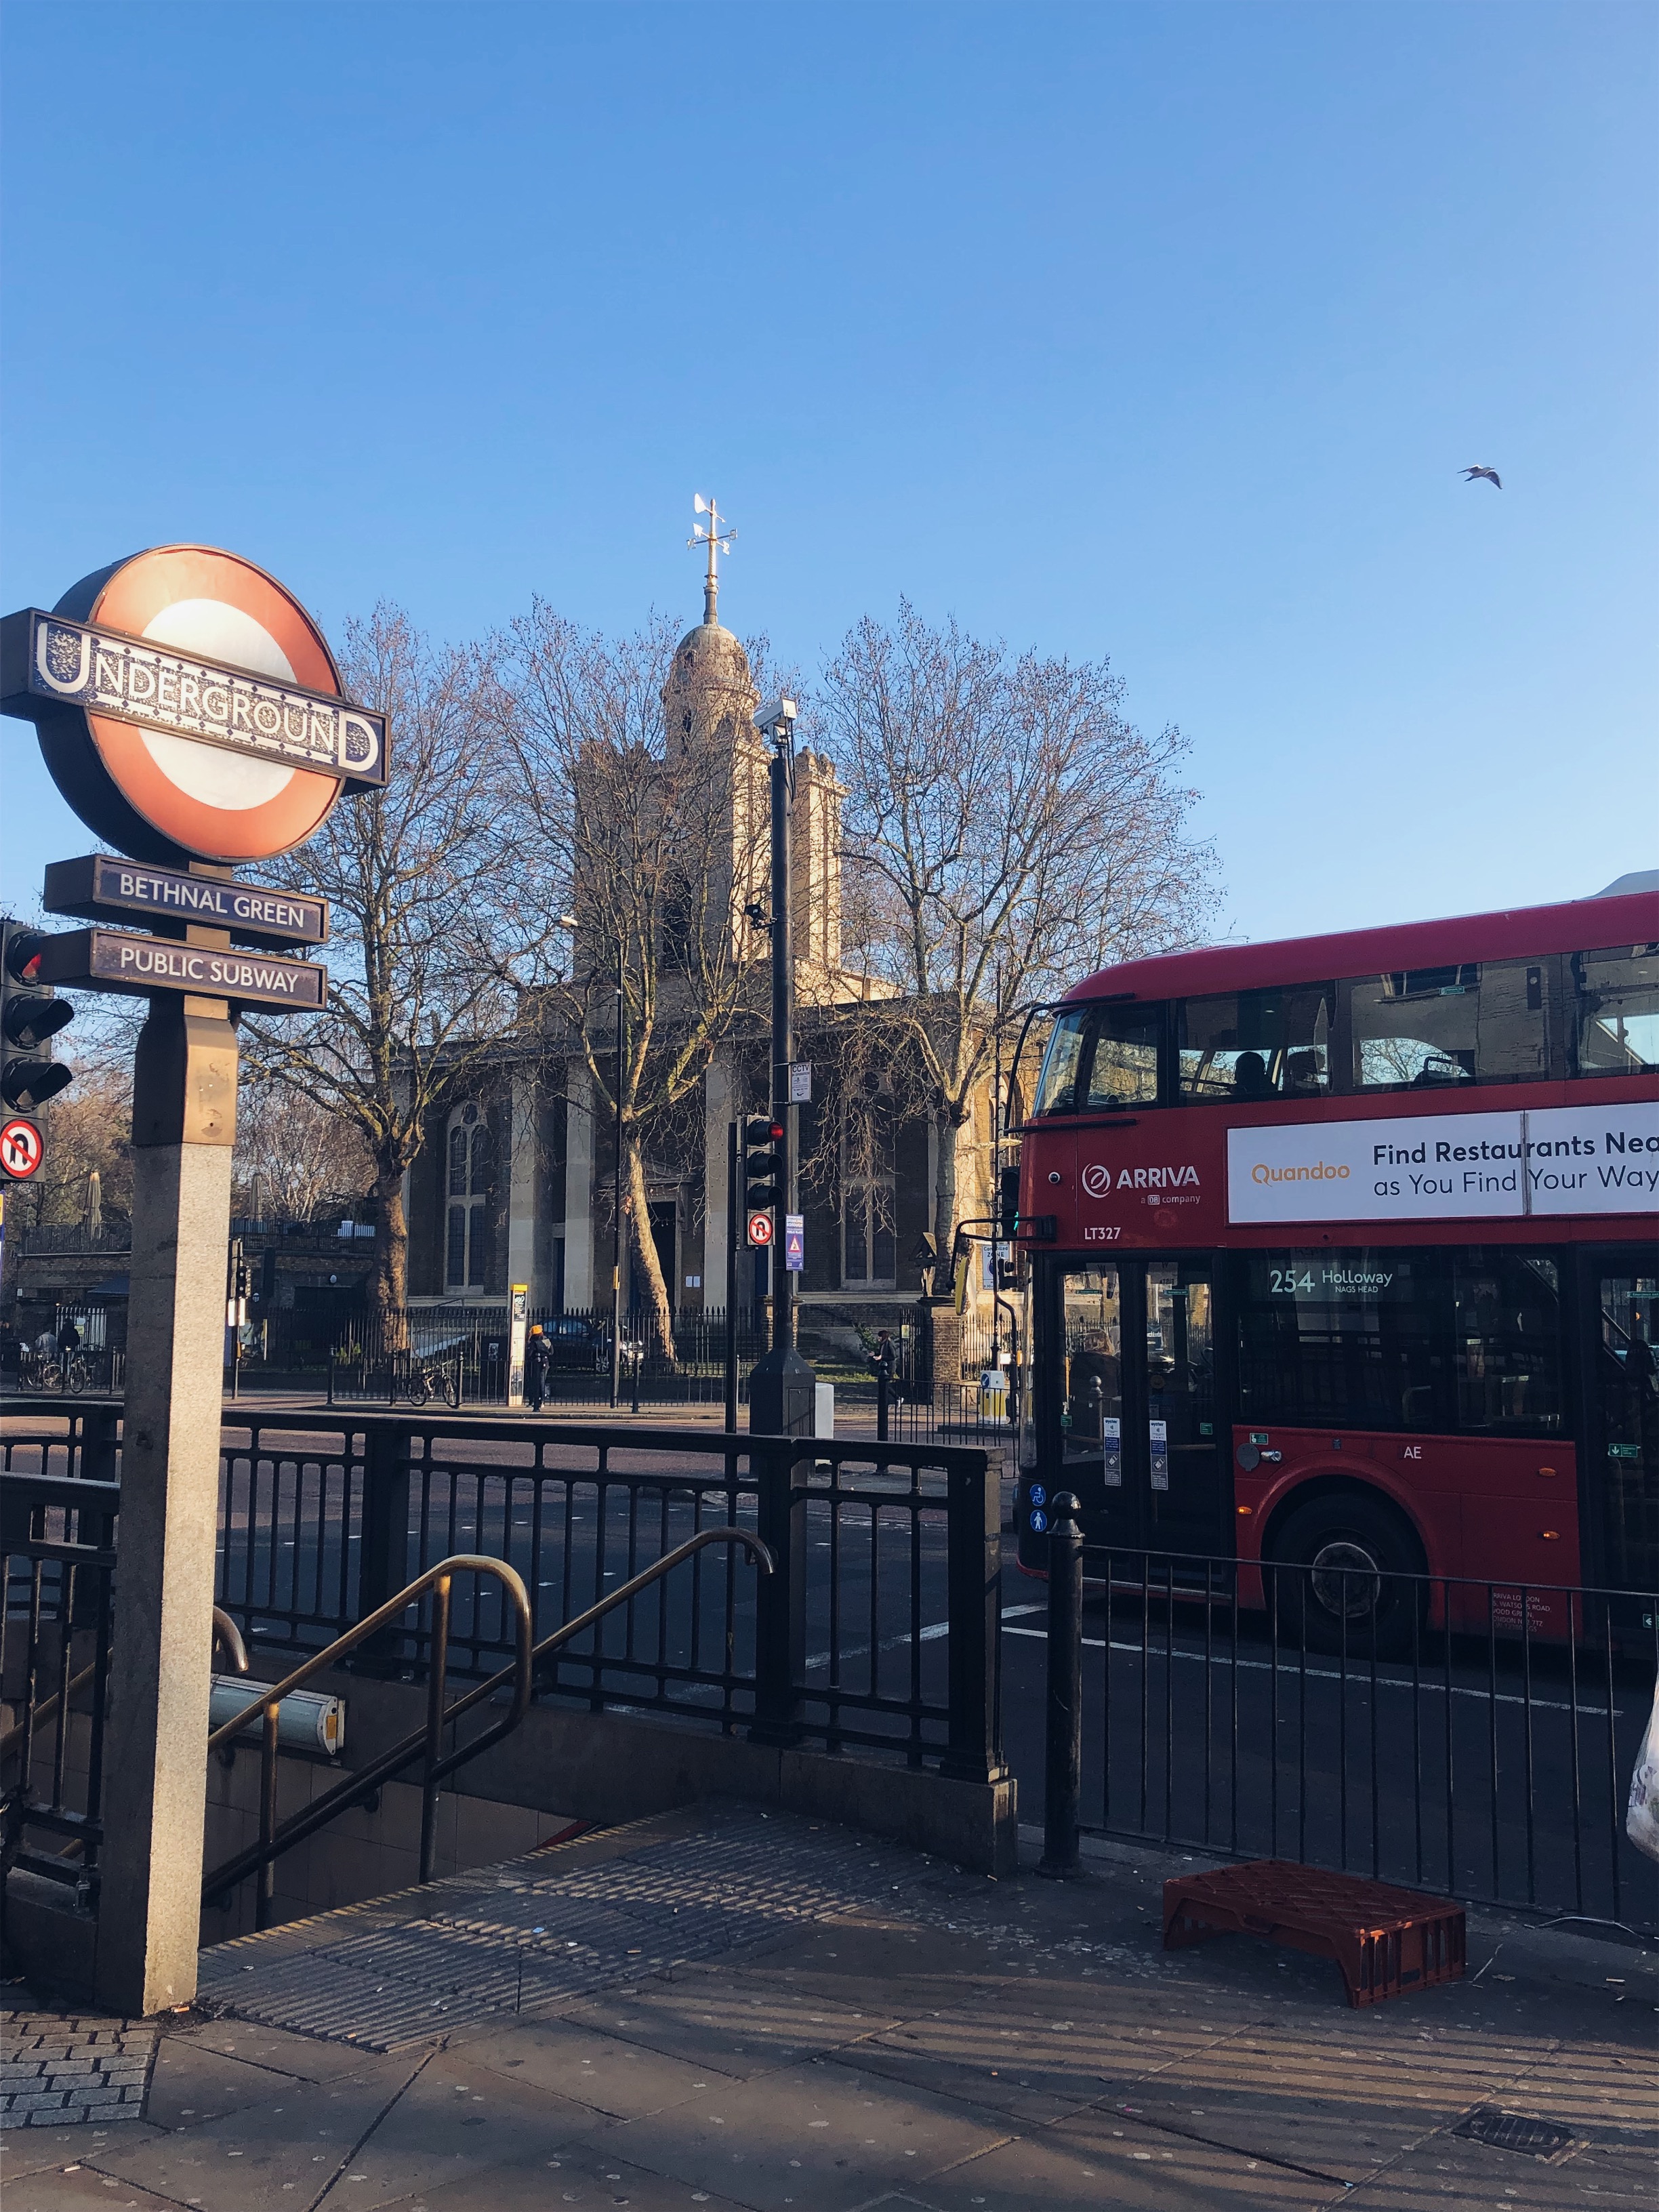
I was under the expert tutelage of Tessa from I Can Make Shoes, a small shoemaking school based Bethnal Green where I Can Make Shoes run a variety of show making and shoe design courses.
When Amanda (the founder of I Can Make Shoes,) emailed me in December, asking whether I’d like to attend to a shoe making course, I couldn’t quite believe it.
So much so, I didn’t respond immediately as I had to wait for the offer to sink in.
Back in 2011, a year after I Can Make Shoes had just launched, I’d come across their workshops when looking for something special to do with close group of friends for my 40th.
Alas, it wasn’t a good time for any of us for one reason or another, whether it was babies being born, moving house/cities, taking exams, being abroad… it didn’t come off.
And so, it was just ‘one of those things’ – an idea I’d parked up for another time & almost forgotten about.
I did of course respond to Amanda’s lovely offer with a resounding ‘yes’ and opted for the Weekend Simple Sneaker Making Course – although, I was very torn between making a shoe with a sneaker sole vs the Weekend Flat Shoe Making Course which I’d already read about on Hannah’s En Brogue Blog.
What to Expect?
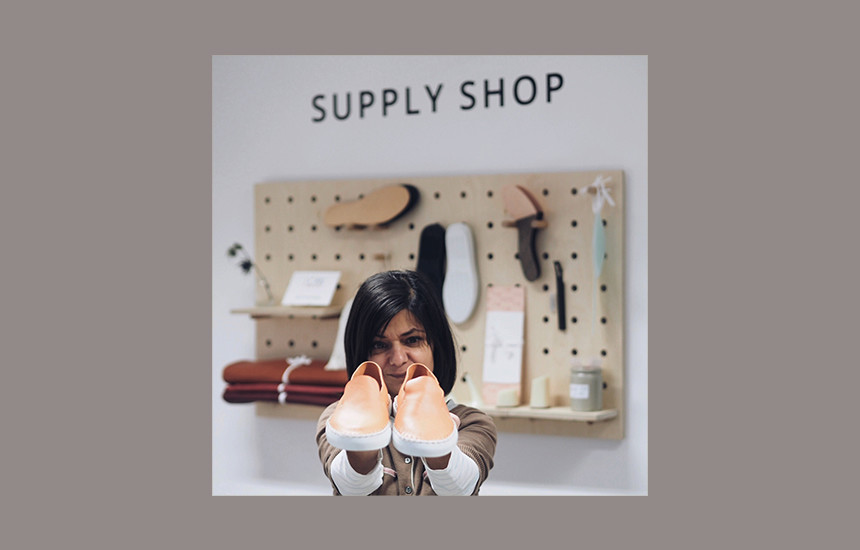
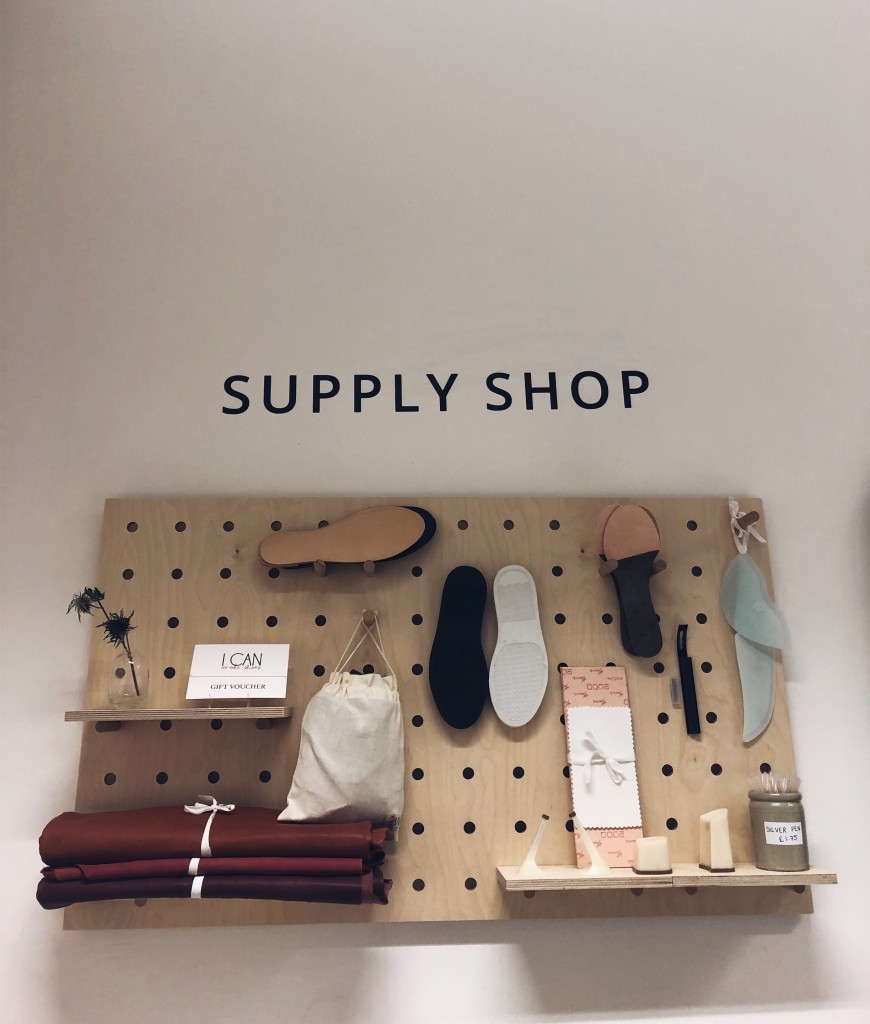
The whole idea behind these workshops and courses is that you will learn skills which you can take away with you and make use of from home. I Can Make Shoes have a pretty well stocked Supply Shop you can buy materials from, but they are also super helpful with sharing other supplier tips and information, should you need it.
-

- Shoe Lasts
-

- Pointy Lasts
-
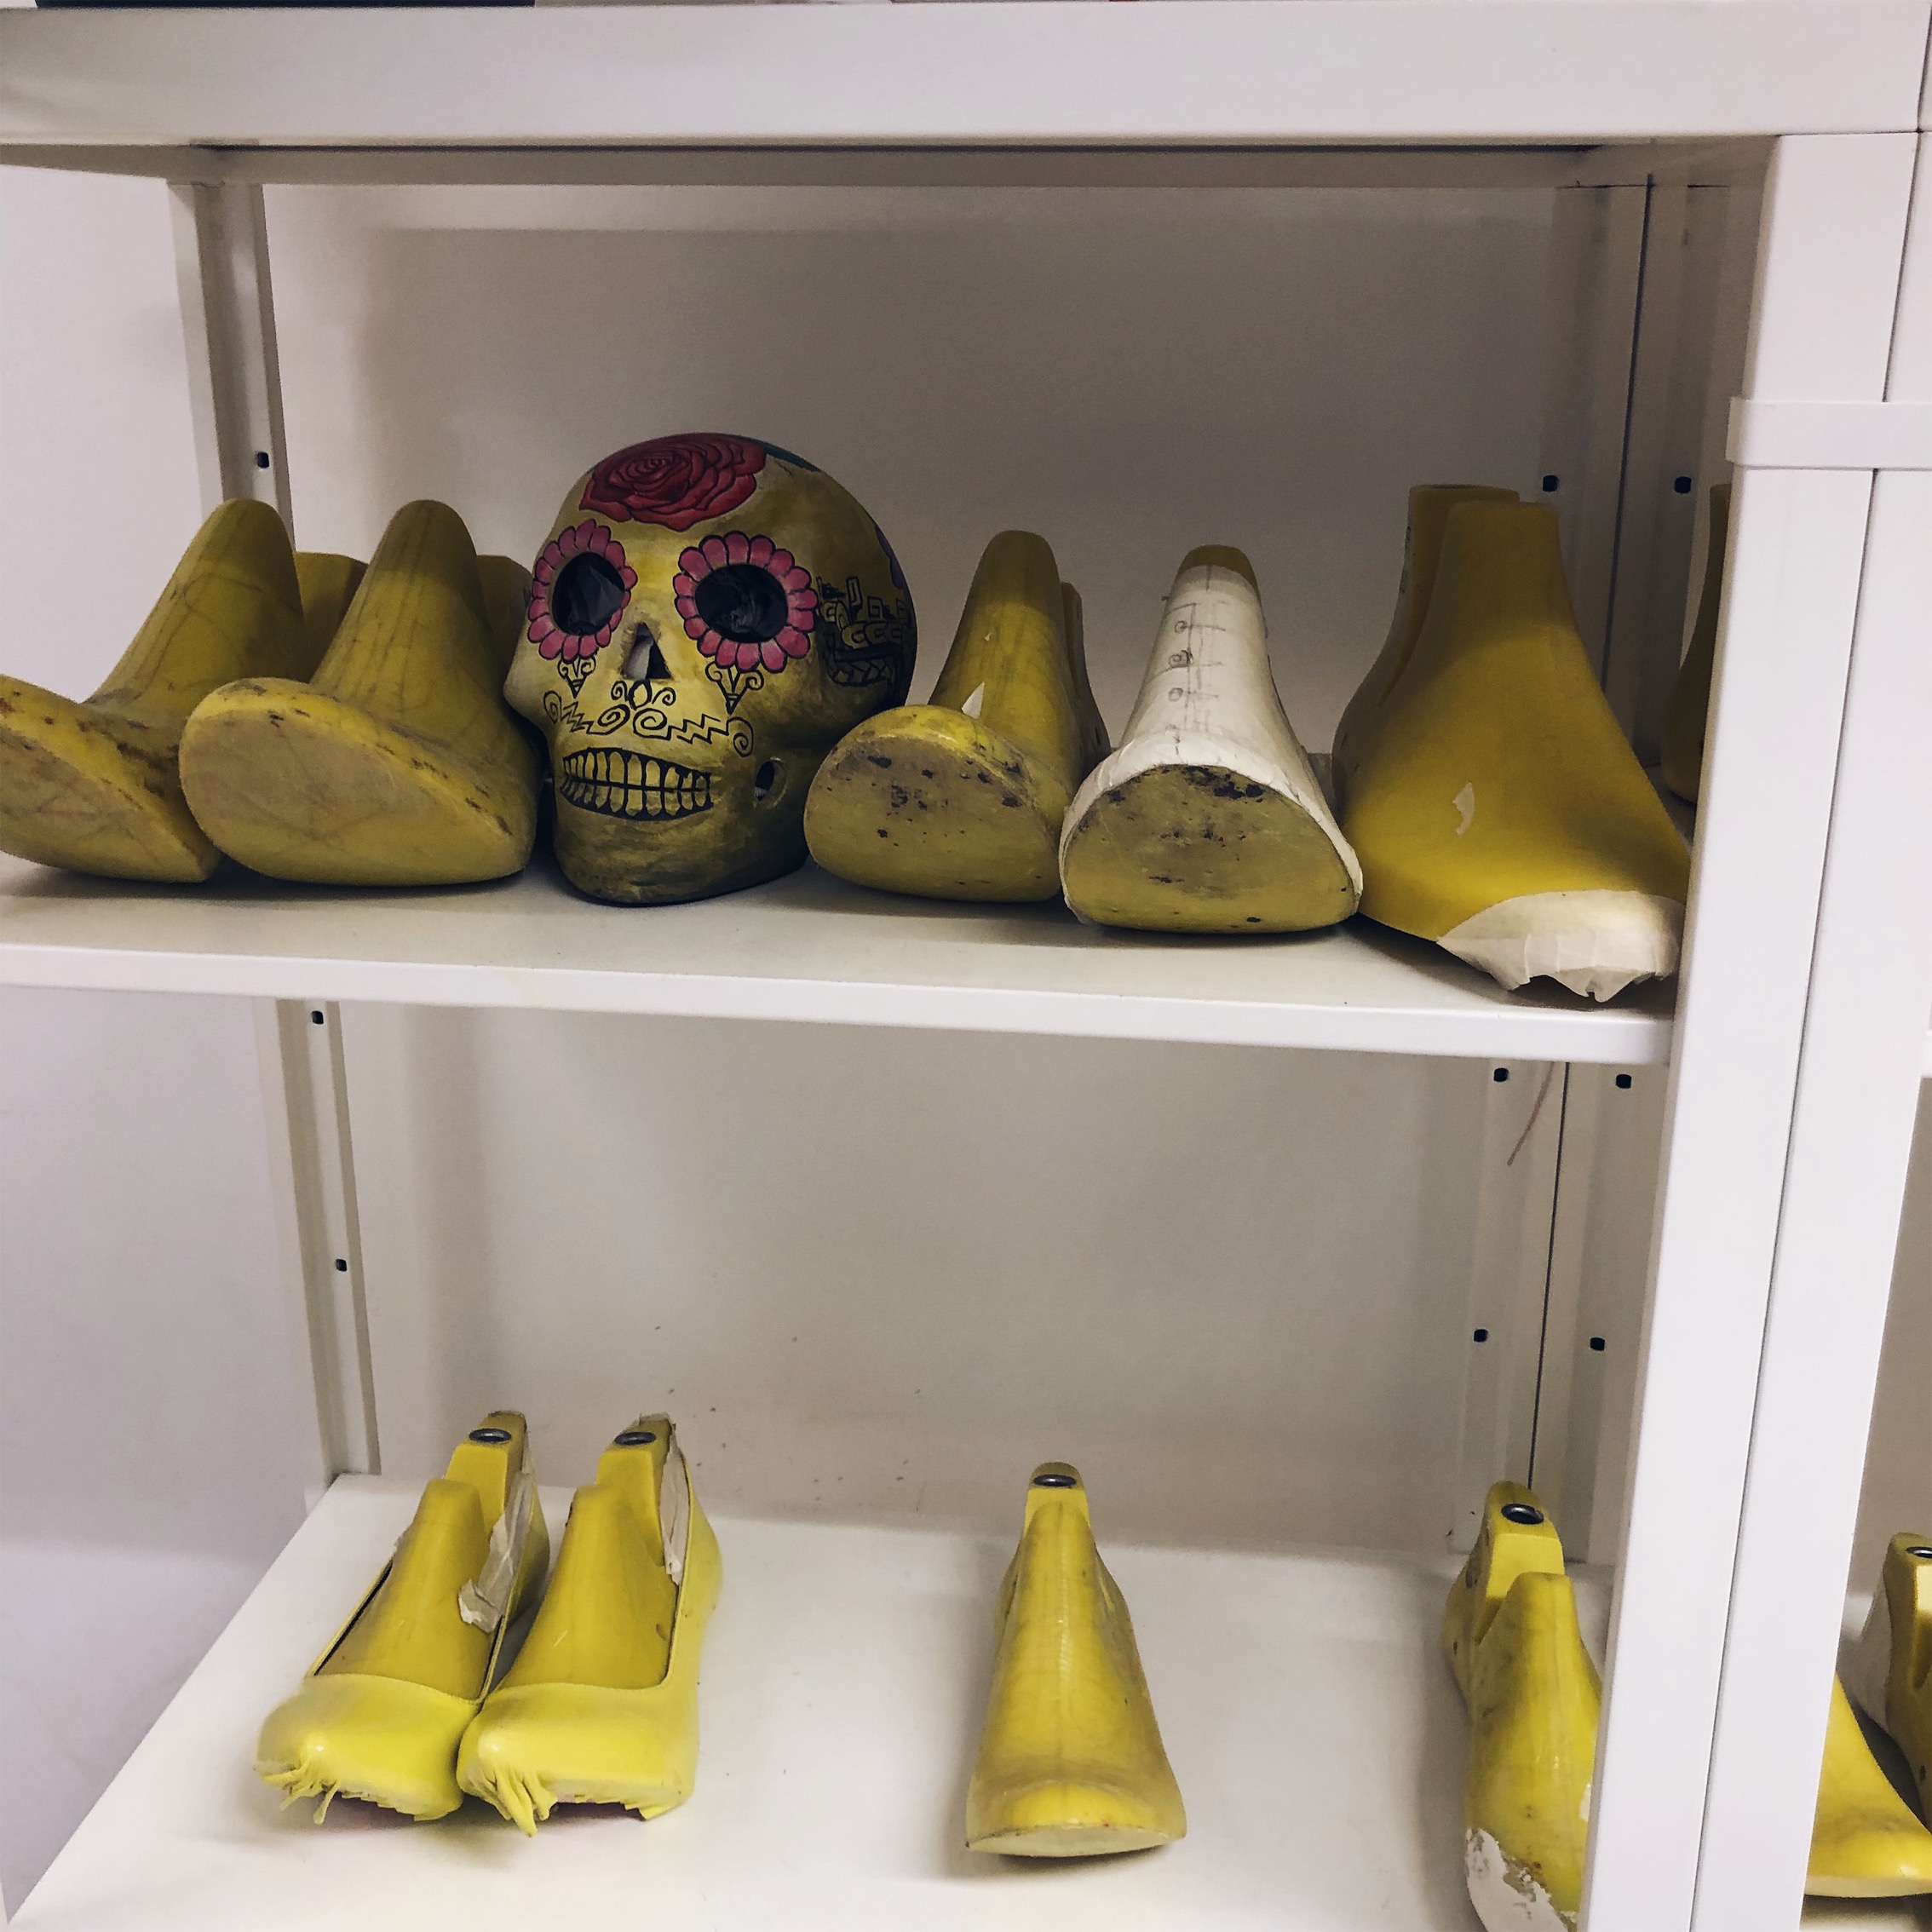
- Skull in the Lasts!
The only ‘big’ thing which you may not already have at home is a sewing machine.
There was a little machine sewing involved in making my shoes, but it was mostly sewing by hand, and I reckon, although it would add extra time to your shoe-making, you could potentially get away with making your shoes without a machine*.
{*Although my teachers may laugh at that bit as that may be just me and my idealistic-novice-notions!}
All materials and patterns (which you get to take home after…) are included in the 2 day, 10am-4pm workshop,.
There are 2 teachers at the workshop, who, given there were 2 different shoemaking courses running in unison, with students at differing stages of shoemaking throughout each day, Both Tessa & Carlotta (and then Miette on Day 2) were exceptionally attentive and vigilant, to ensure you understood each step as well as offering assistance with any aspects you may be finding difficult.
Day 1:
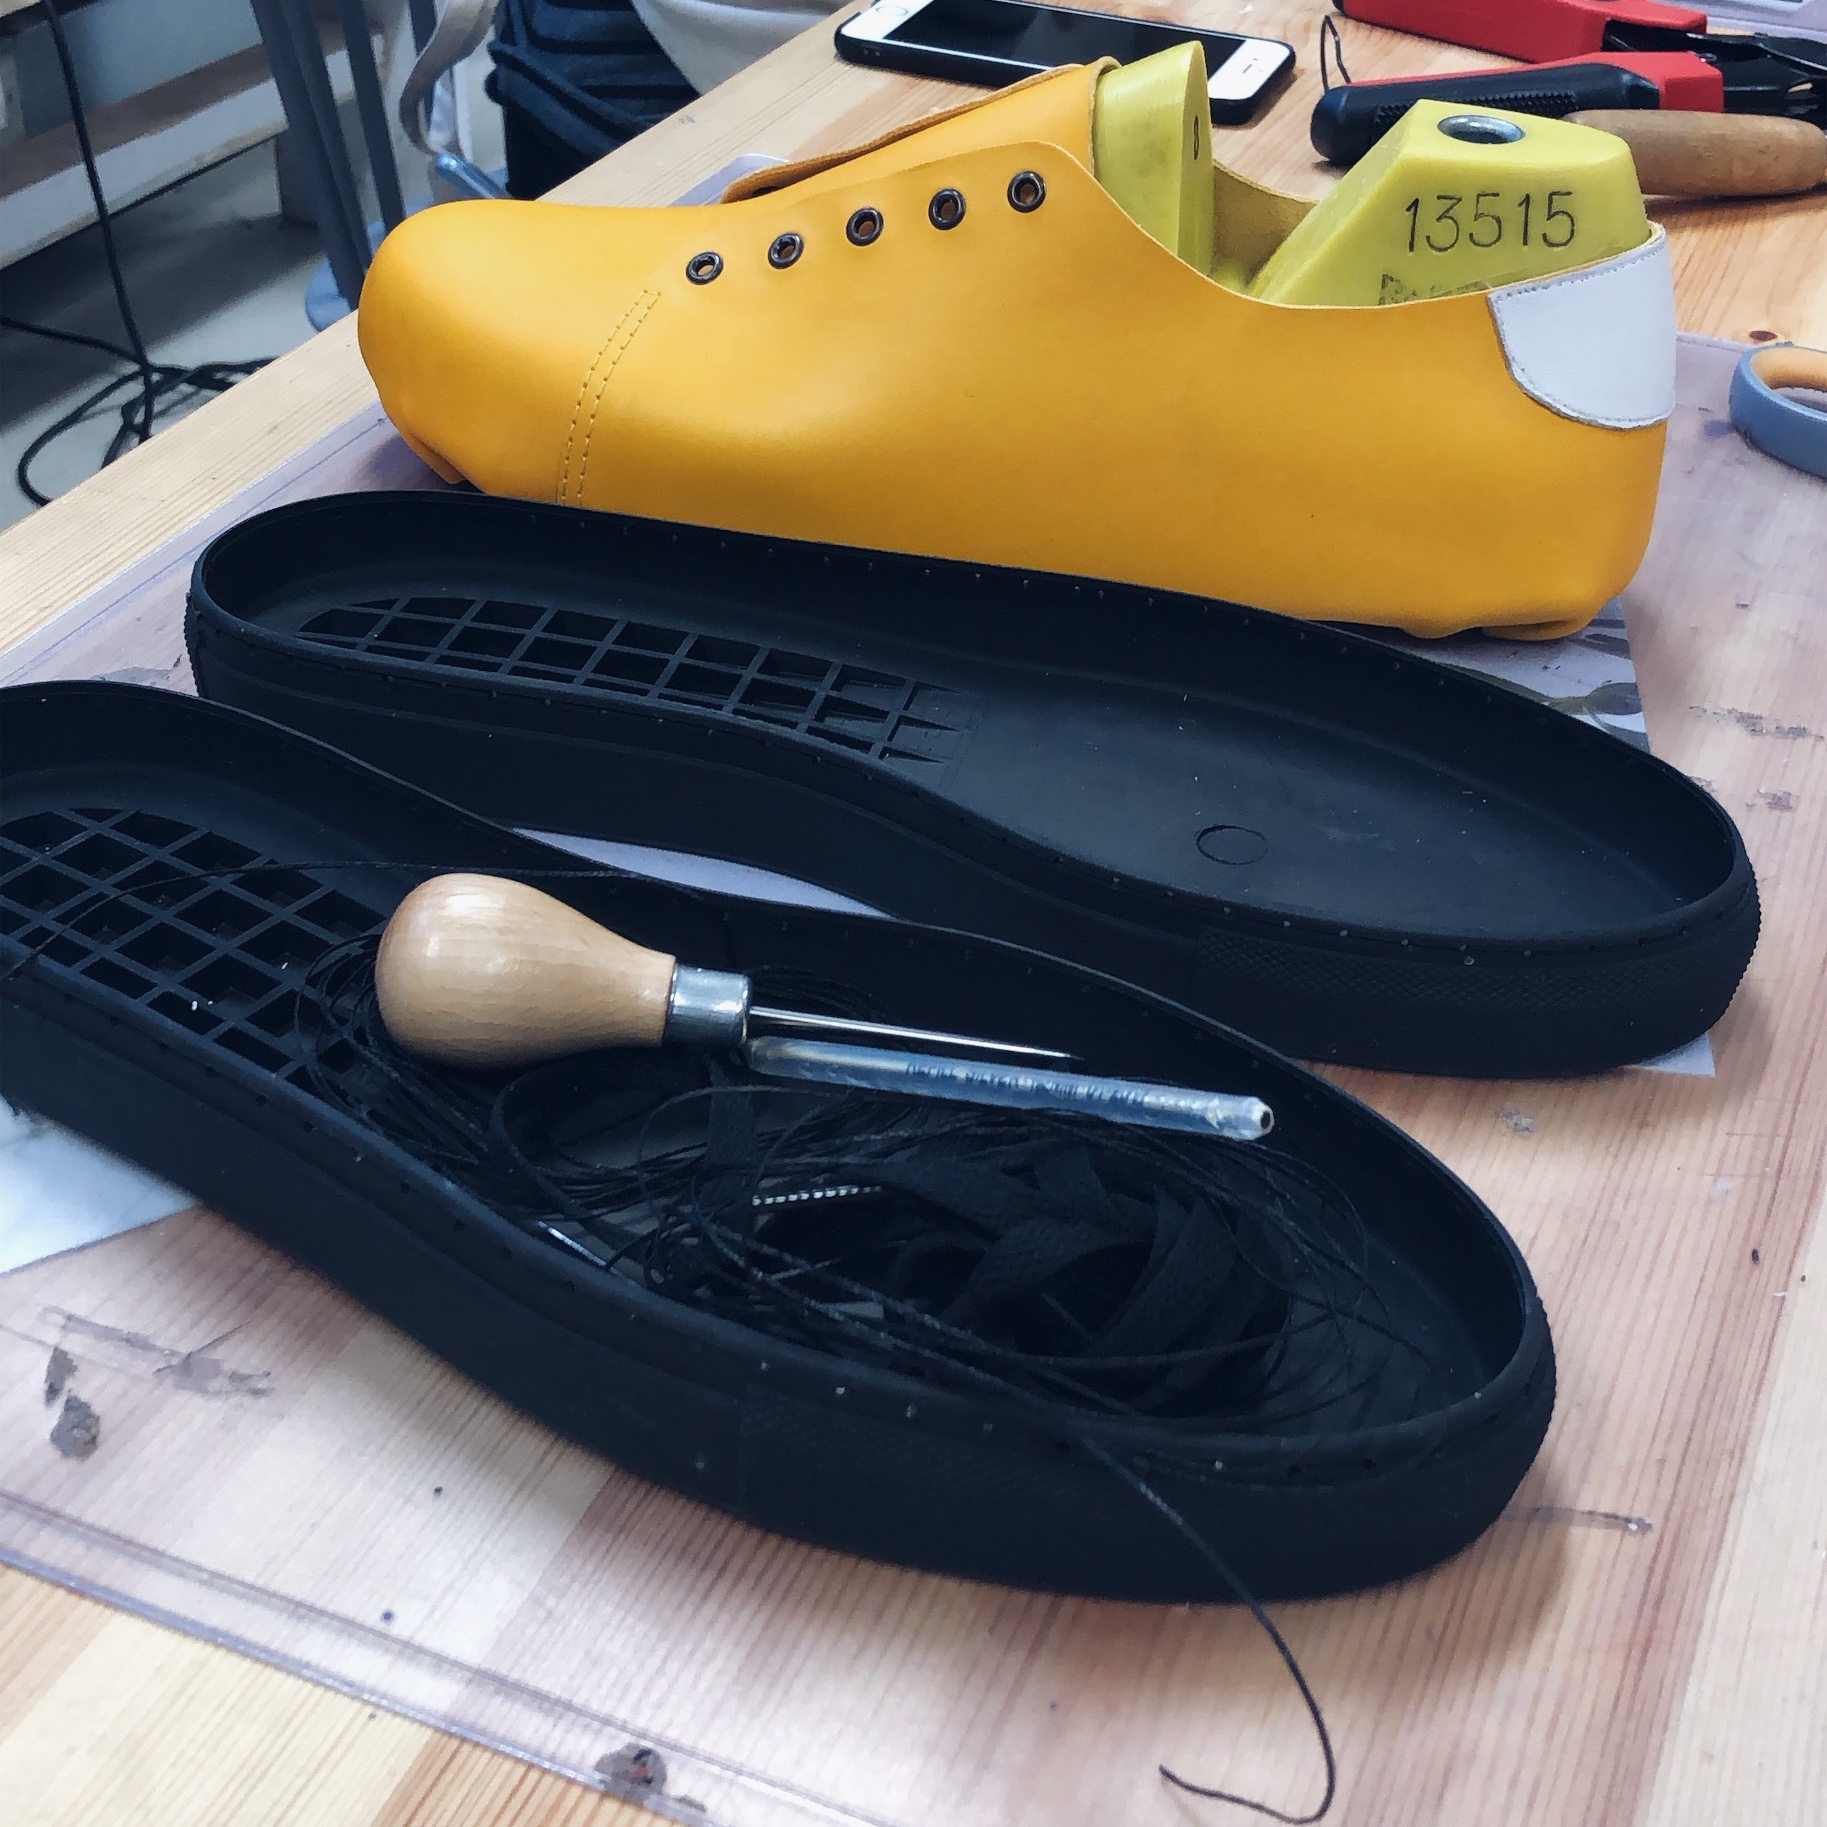
After the initial introductions, and meeting the others on the course (there were 3 of us making sneaker soled shoes and 2 making traditional soled flat shoes) we were talked through shoemaking terminology and the tools of the trade and then… pretty much got stuck into our shoemaking straight away!
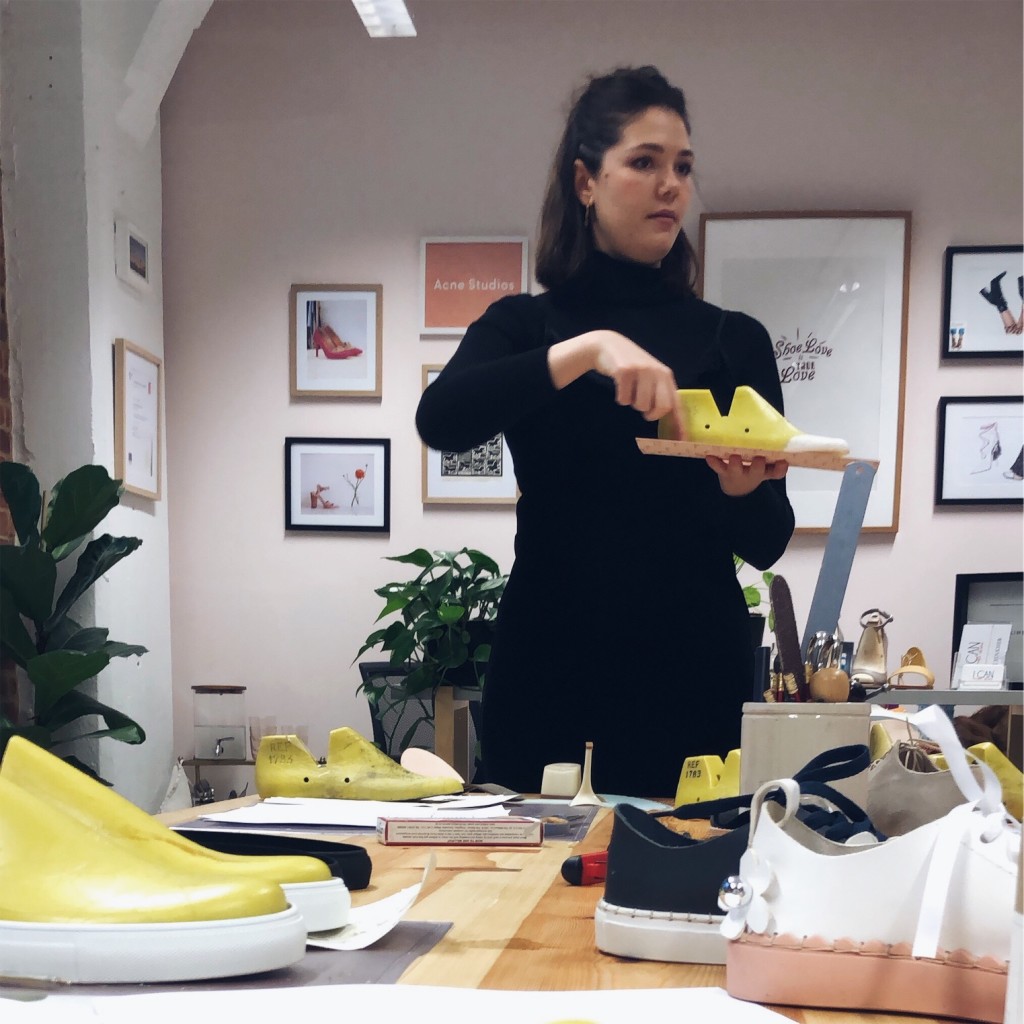
Tessa, talking about ‘lasts’
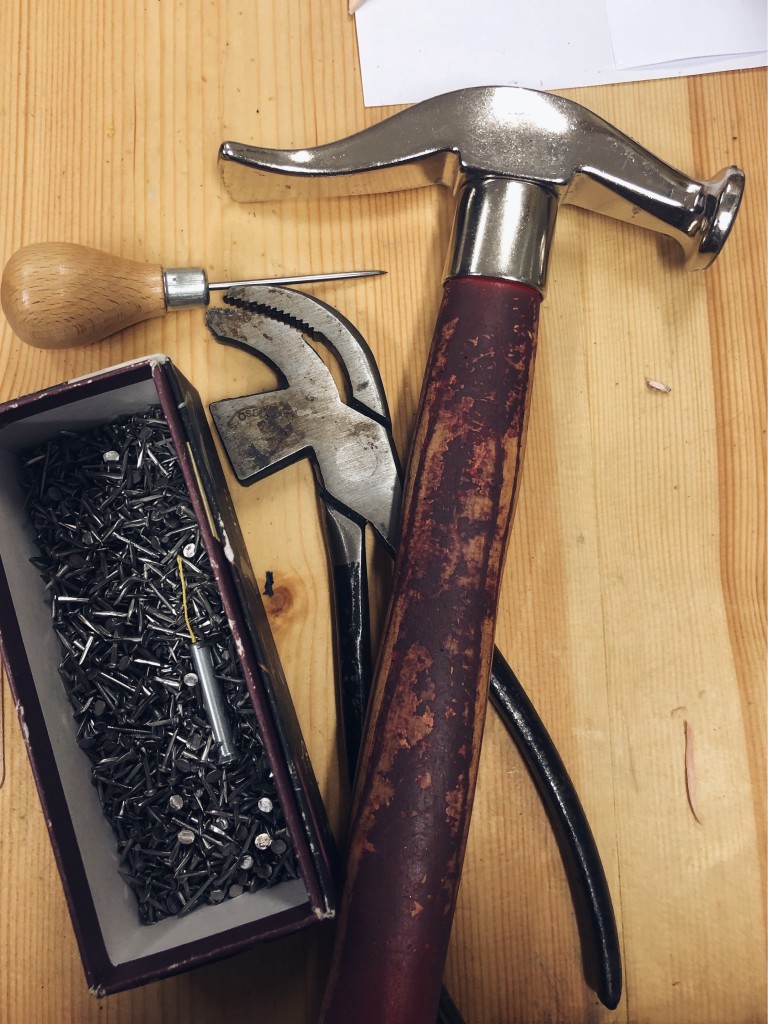
Some tools of the trade
Having emailed our shoe sizes in advance, patterns had been prepared and a choice of black or white sneaker soles were laying on the table in front of me.
Ever the tricky customer, I hadn’t realised that the pattern would be for a lace-up sneaker, but my request for a slip-on, loafer style sneaker pattern wasn’t dismissed, and Tessa quickly whipped up a new pattern* for me, in just a couple of minutes.
{*Which I was utterly in awe of!}
Then came one of the most difficult parts: a decision on which colour leather to use!
For sneakers, we were using vegetable tanned leather and given I’m quite indecisive… I found picking a colour, under pressure – hard!
However, a decision needed to be made so I went with a fresh looking Salmon Pink (very close to Pantone’s colour of the year, Living Coral in fact…) mainly because I thought it would work well with my mainly darks & neutral coloured wardrobe.
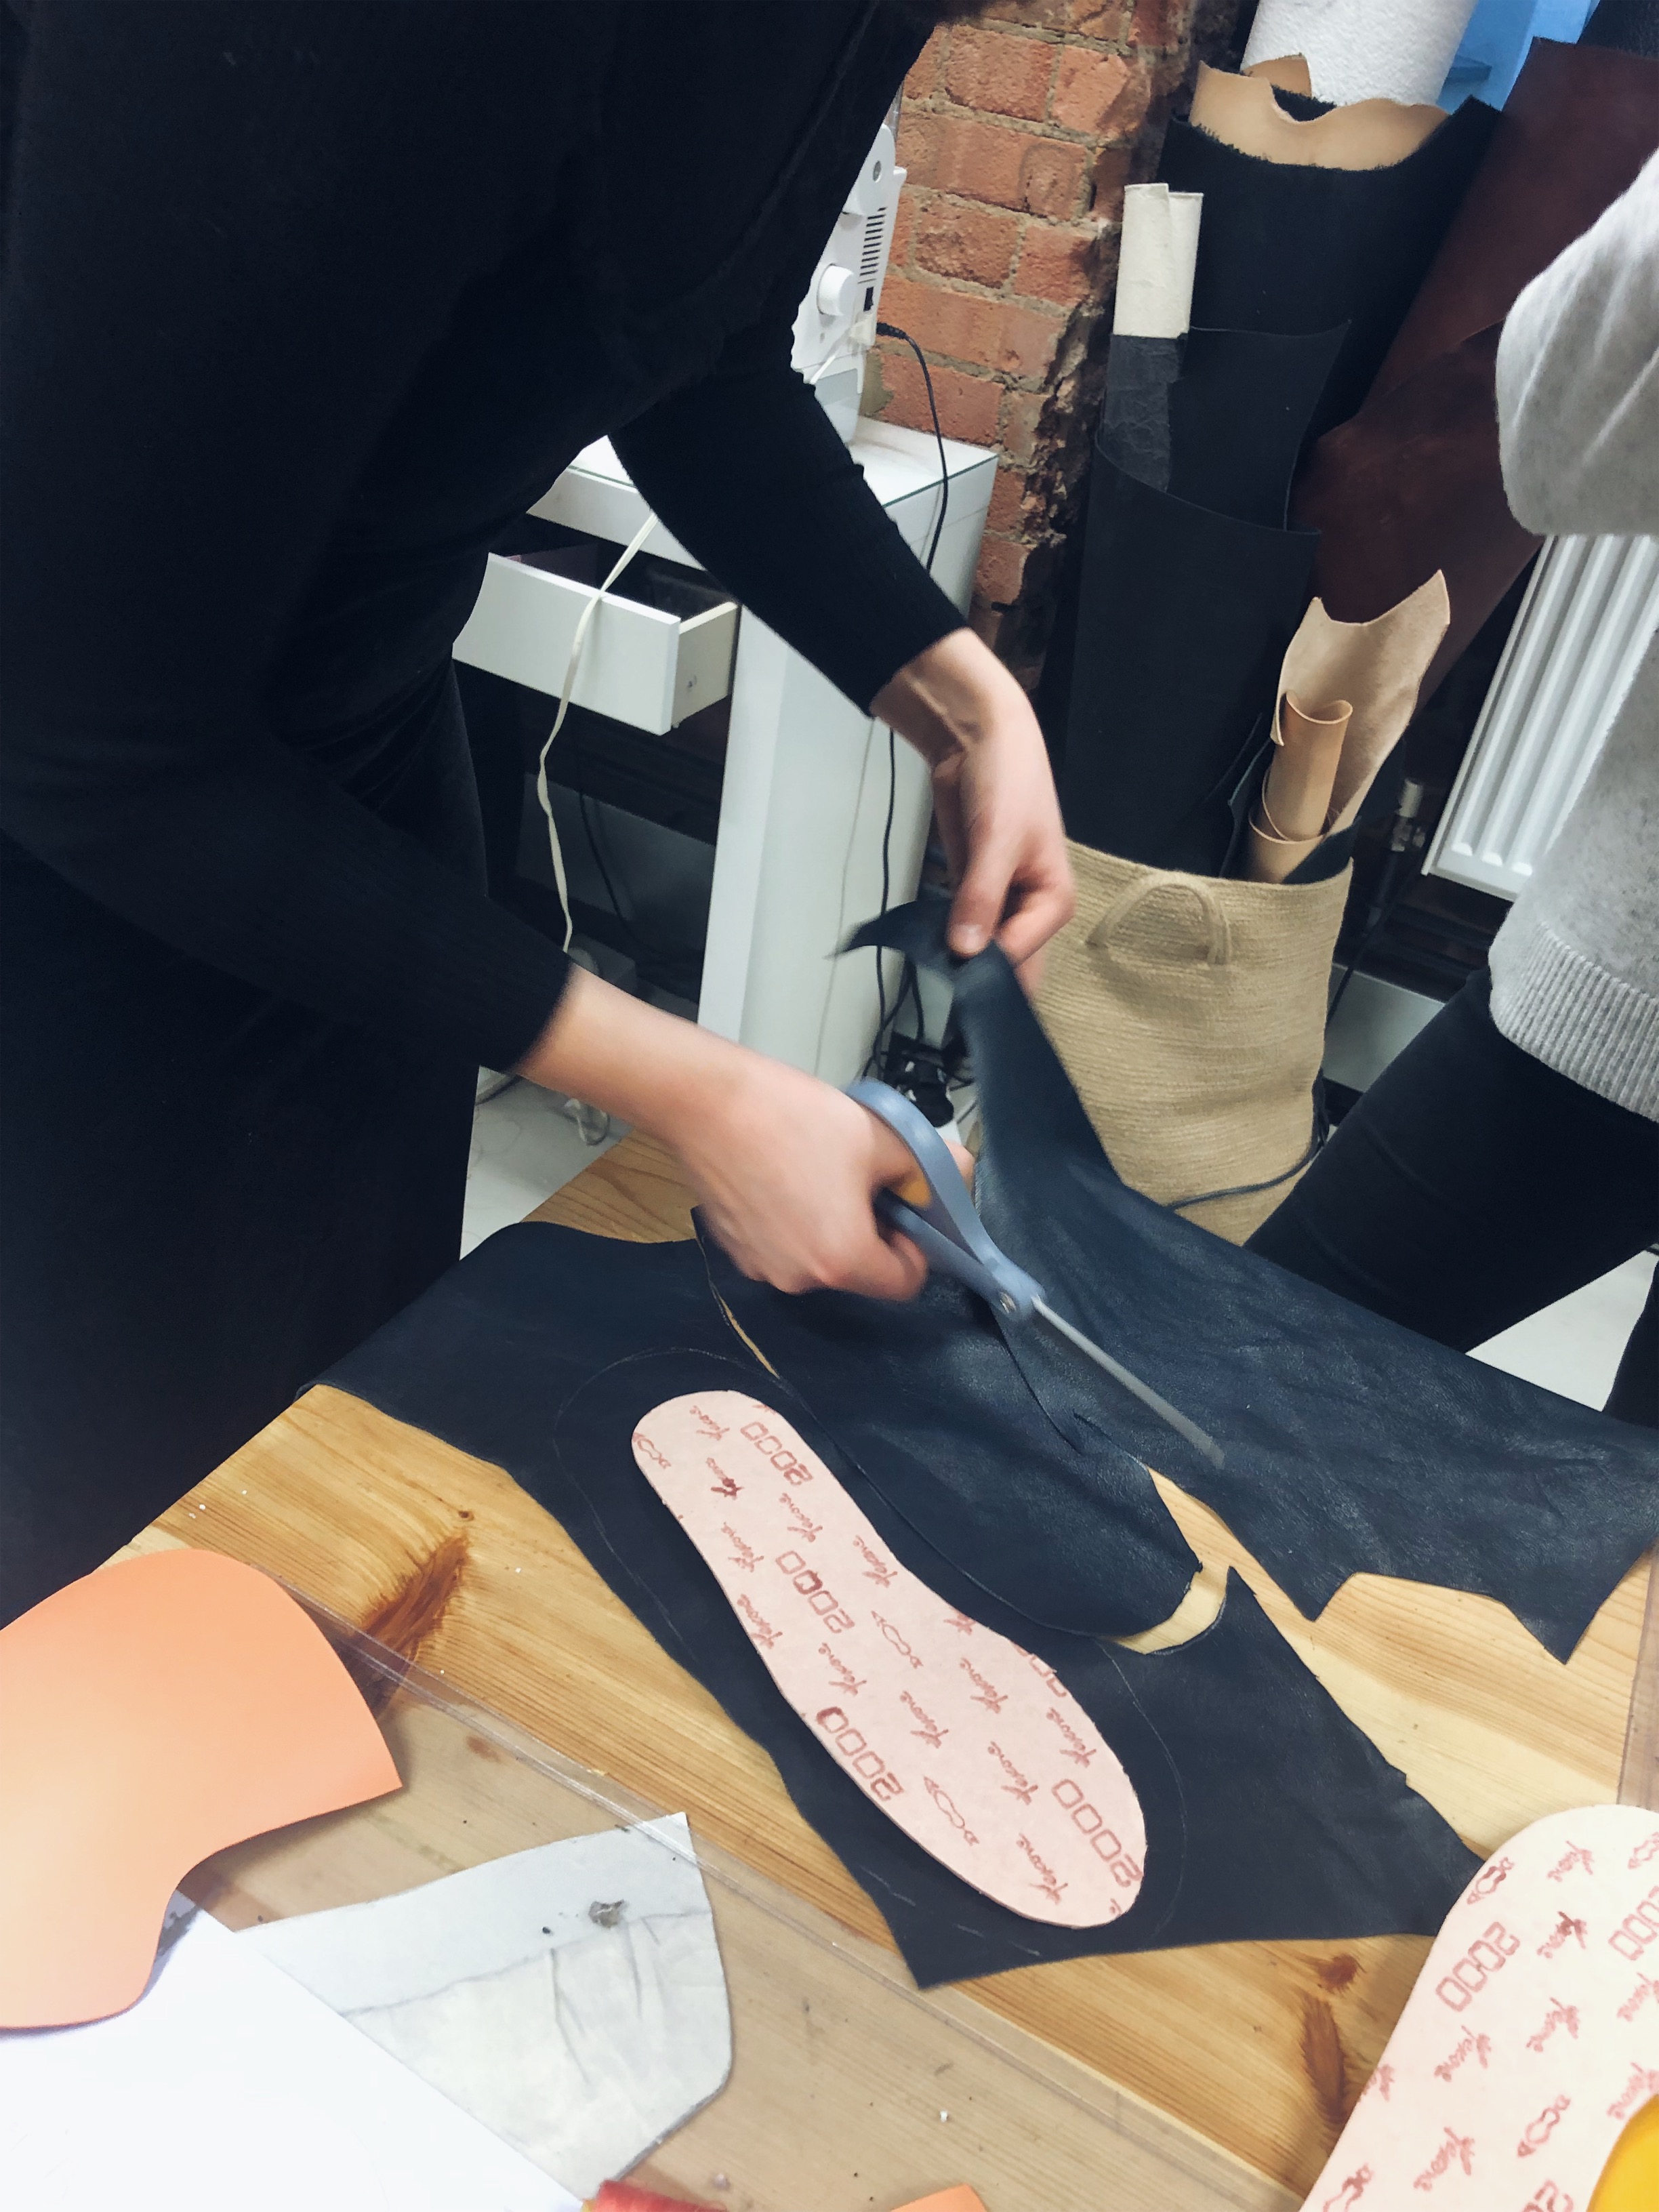
Once I’d chosen my material, it was straight into drawing around my pattern ready for cutting.
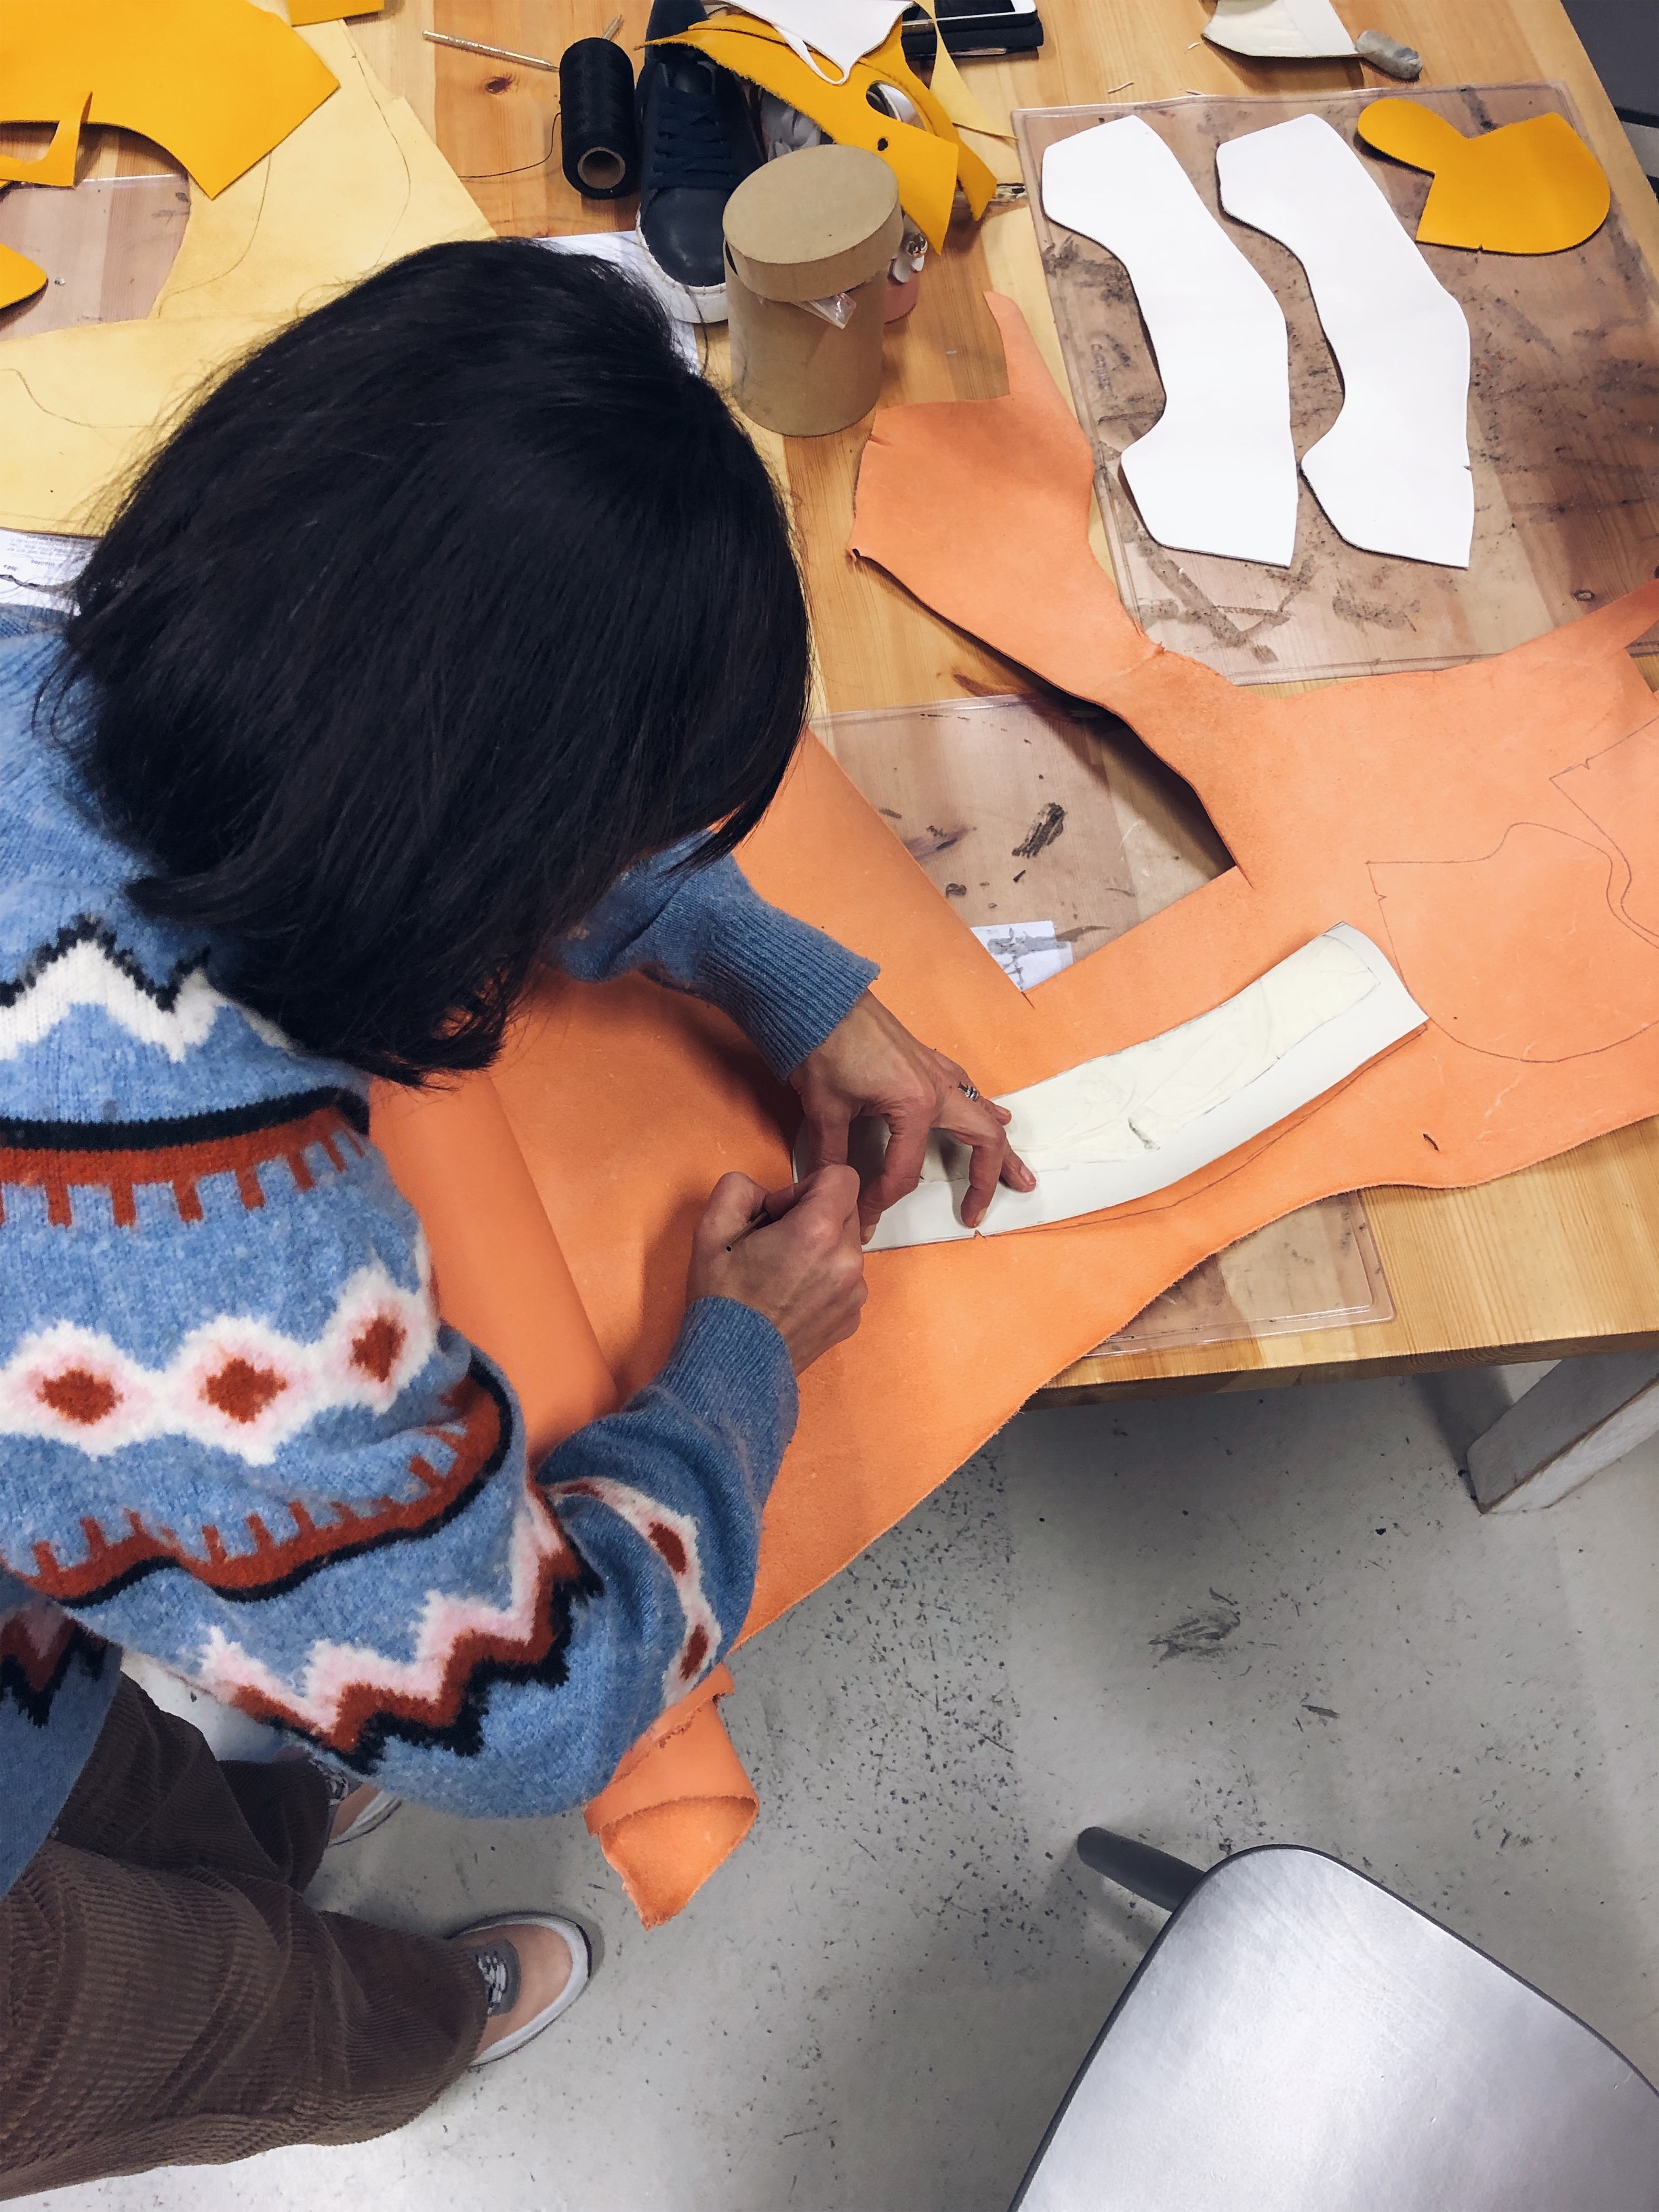
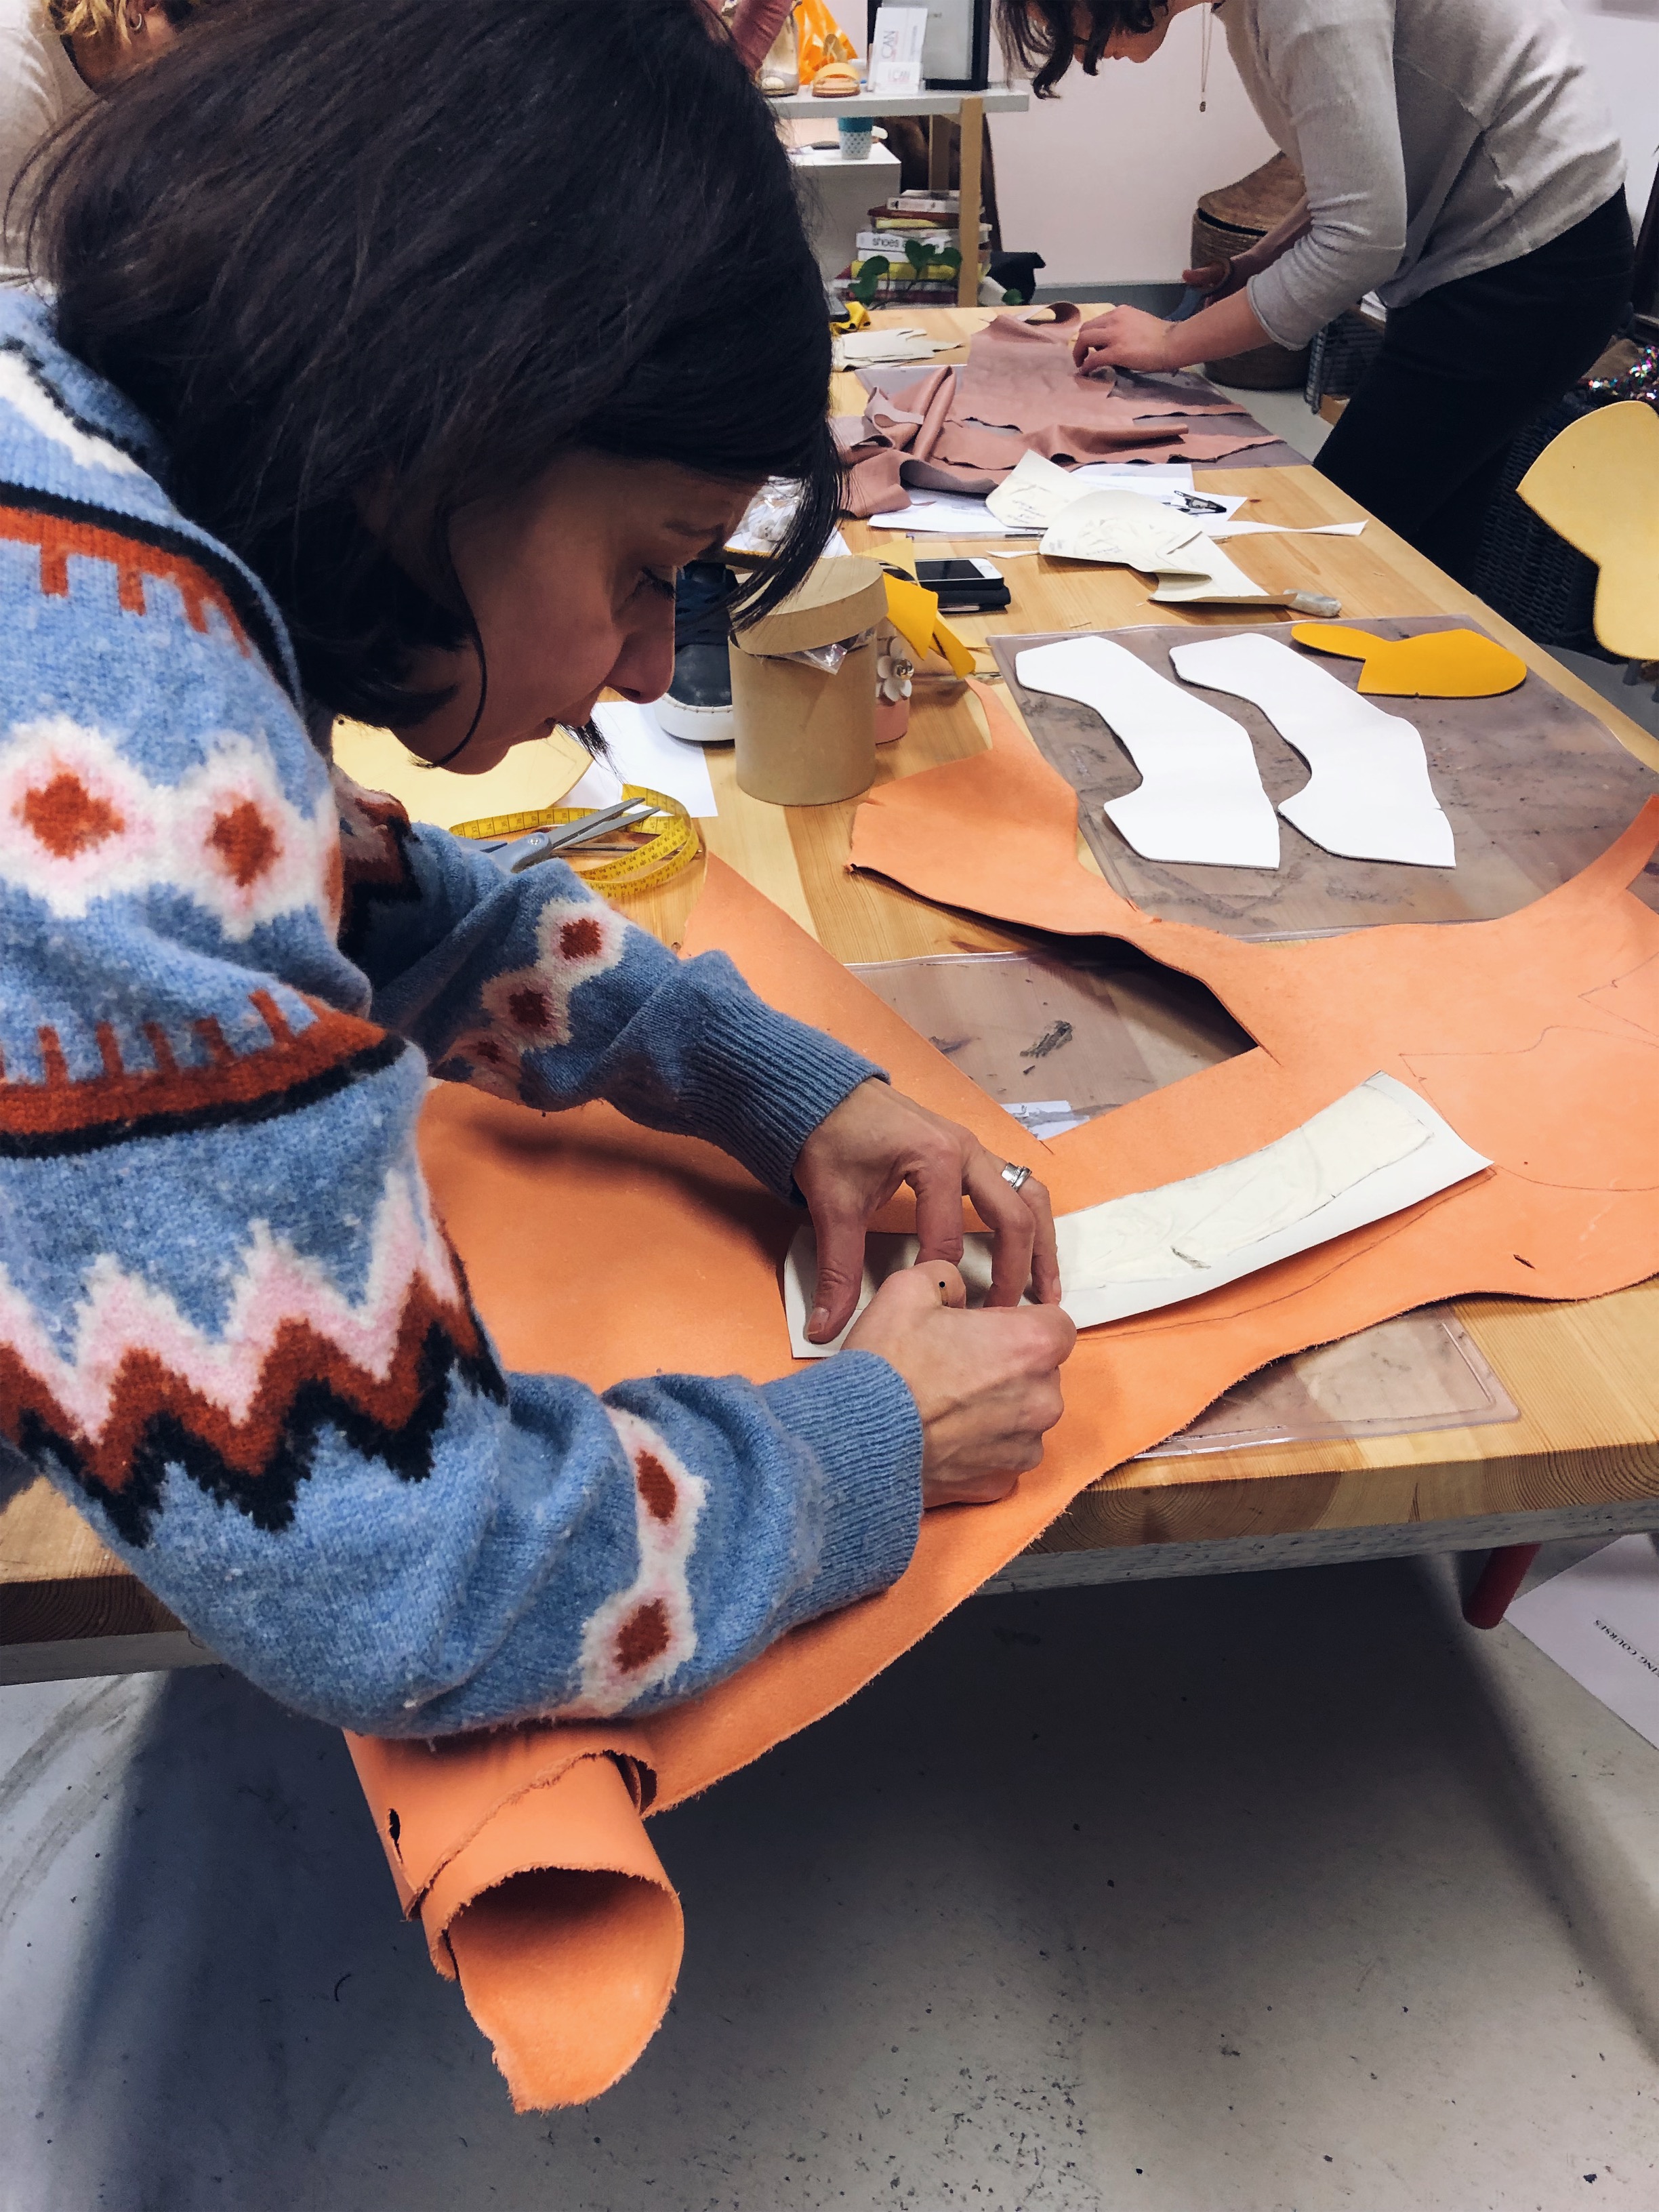
Day 1 is basically about as much preparation as possible: insoles were cut and made:
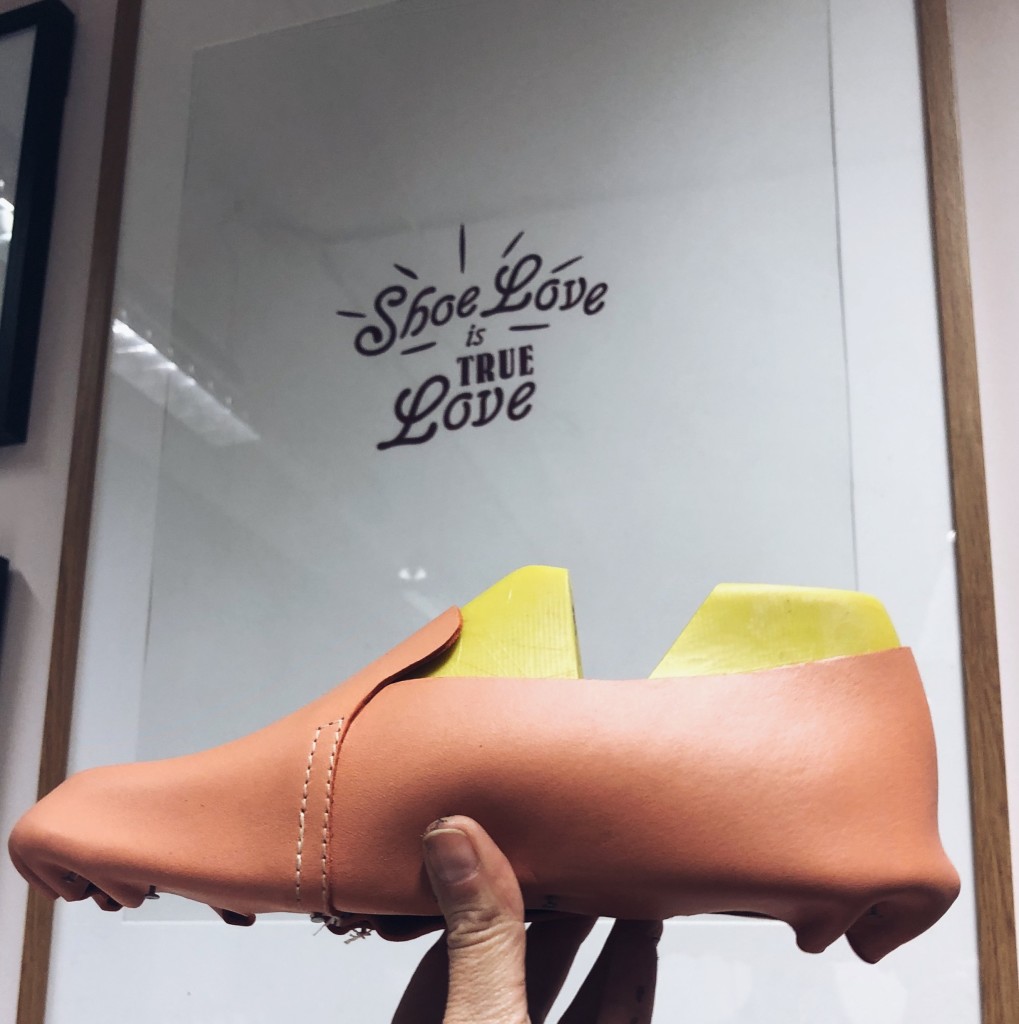
any sewing machine stitching carried out on the uppers…
…in fact, at the end of the day, as the uppers were wet-moulded to the ‘last’ or, in layman’s terms, the upper was moulded to a foot-shaped cast and left to dry, ready for Day 2…

… I couldn’t really imagine there being very much to do on Day 2 and almost thought we’d be finished by lunchtime on the second day…
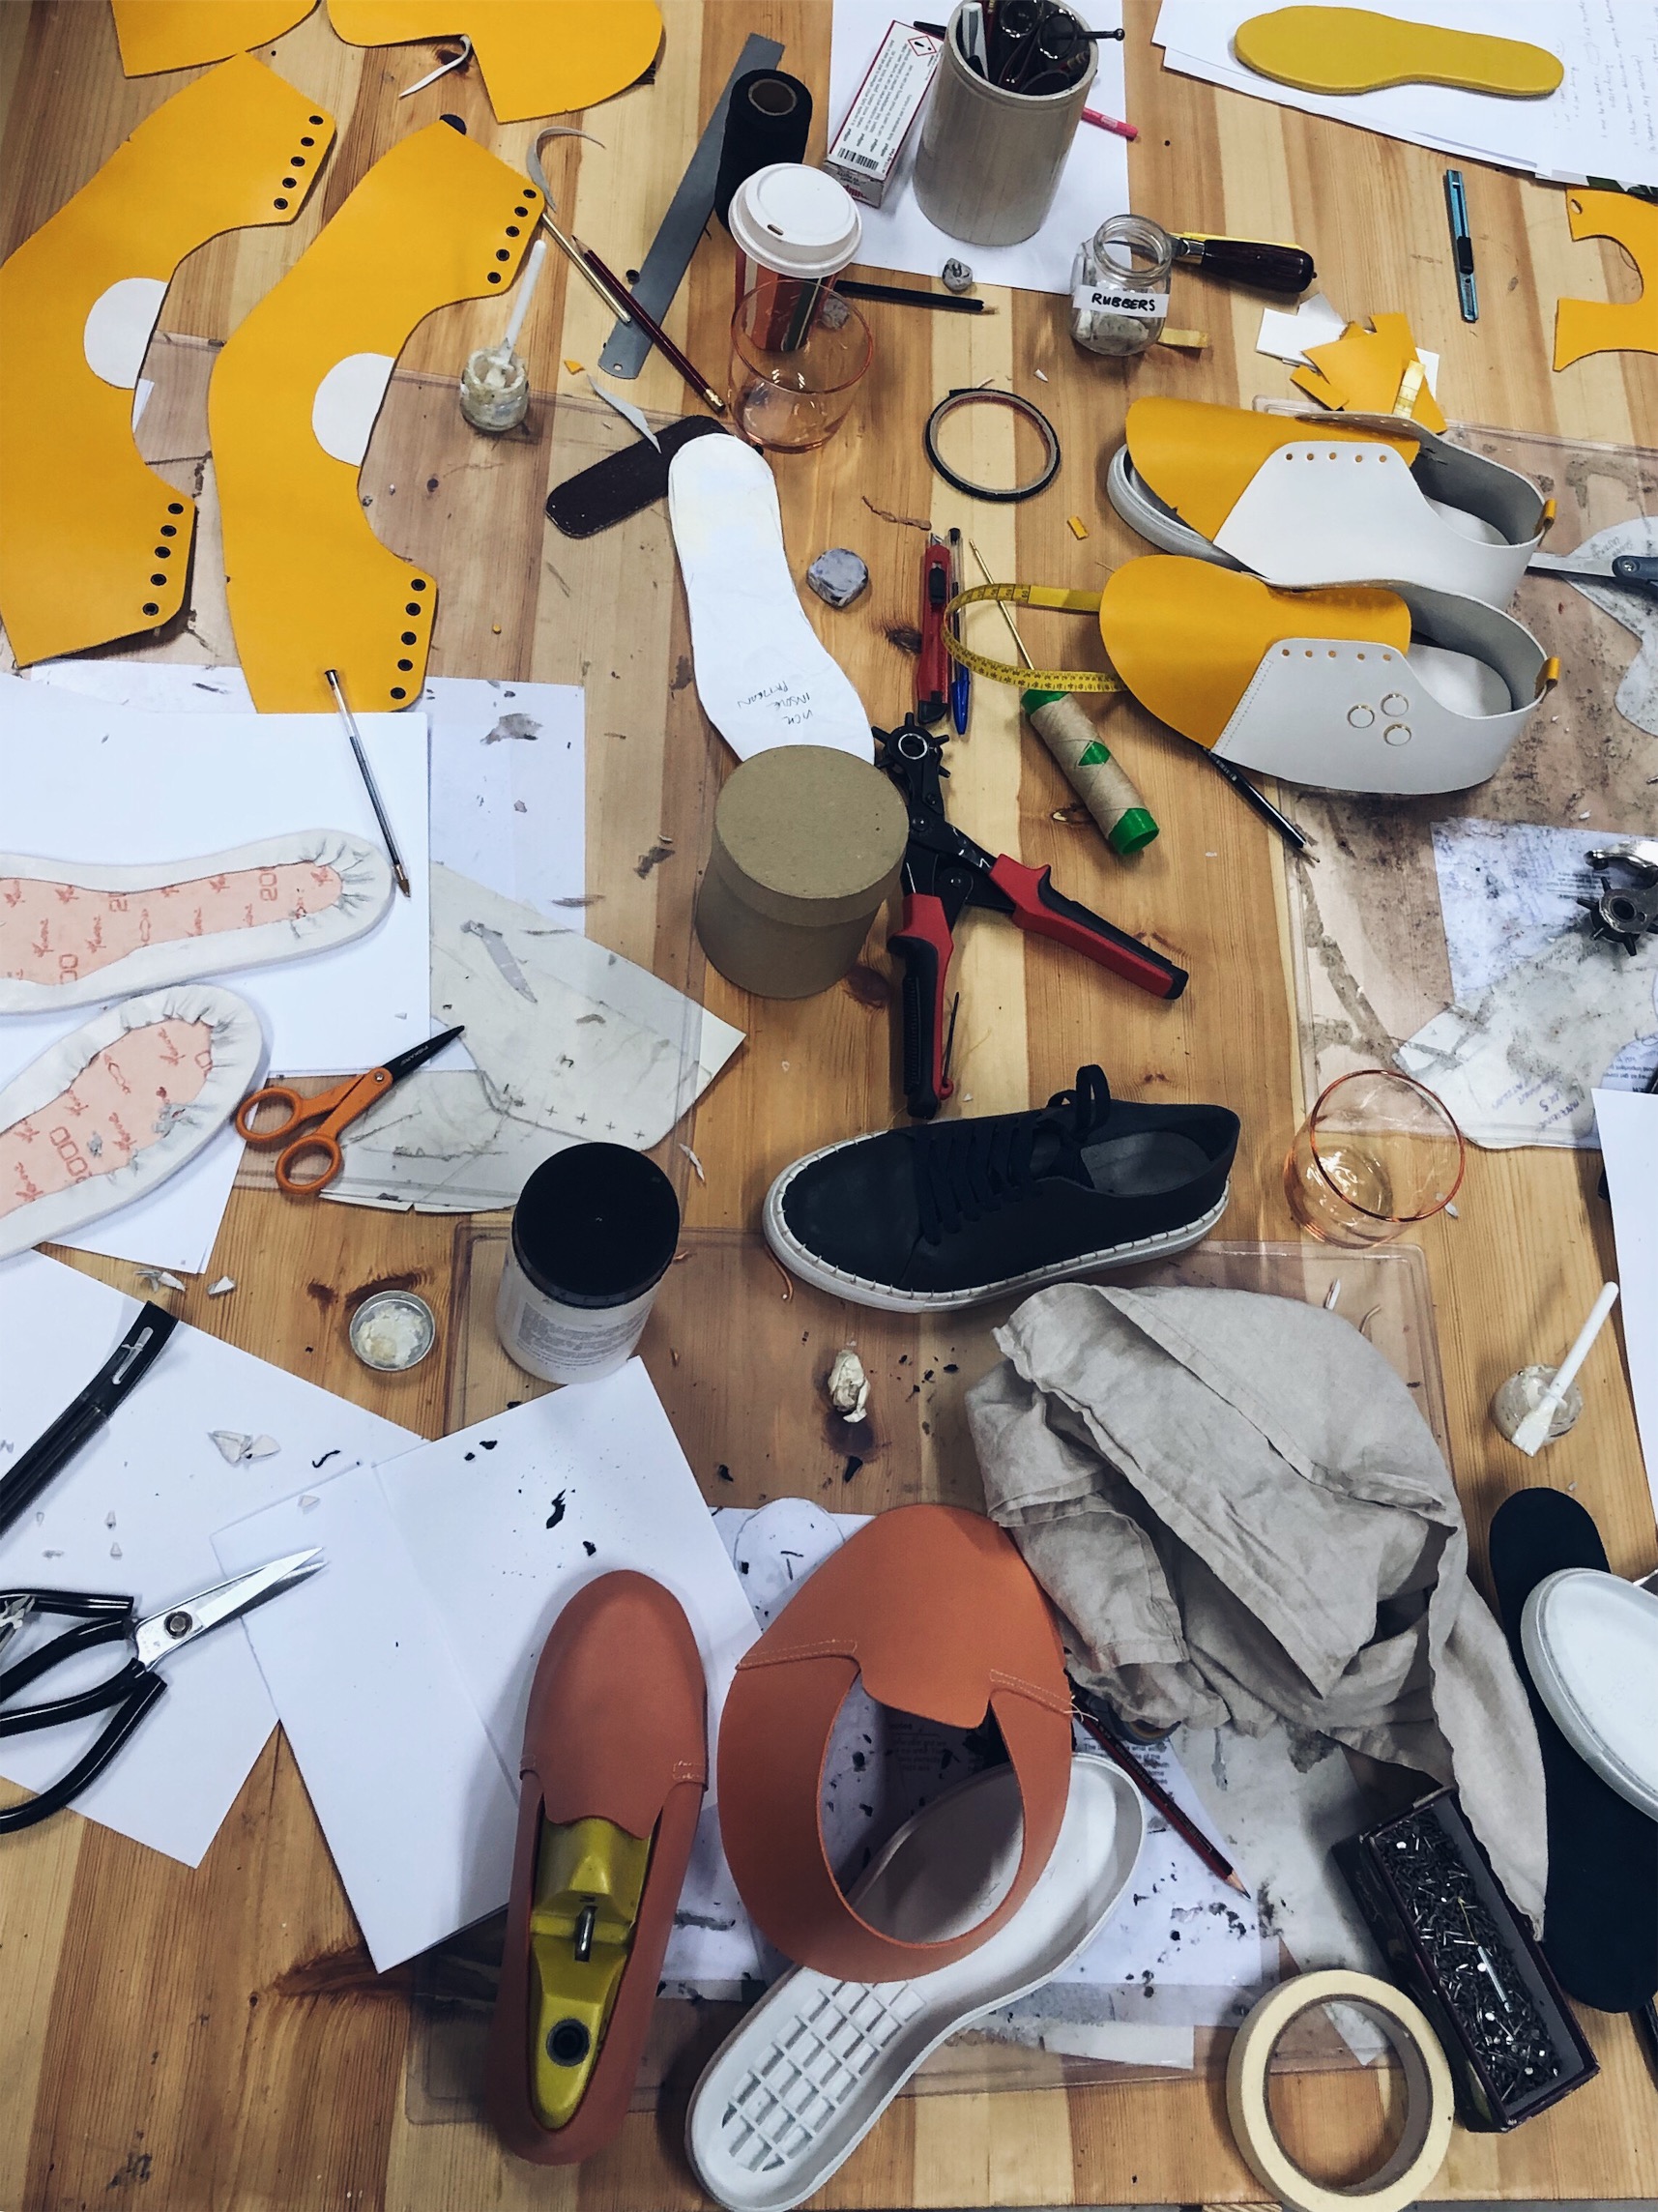
The table at the end of day 1
…I was wrong!
Day 2:
Aside from removing the last from the now dry, wet-moulded upper of the shoe, and removing some tacks… the majority of day 2 was spent punching holes in the upper ready for handsewing the upper and sole together to make your finished shoe.
There were a few other bits and bobs to be getting on with, ensuring there were no lumps and bumps which would make for an uncomfortable shoe, but in the main, it was sewing the two halves of your shoe together.
And let me tell you straight: sewing leather uppers onto rubber soles by hand gets preeeeeetttty tricky when it comes to the rounded off toe section of your shoe.
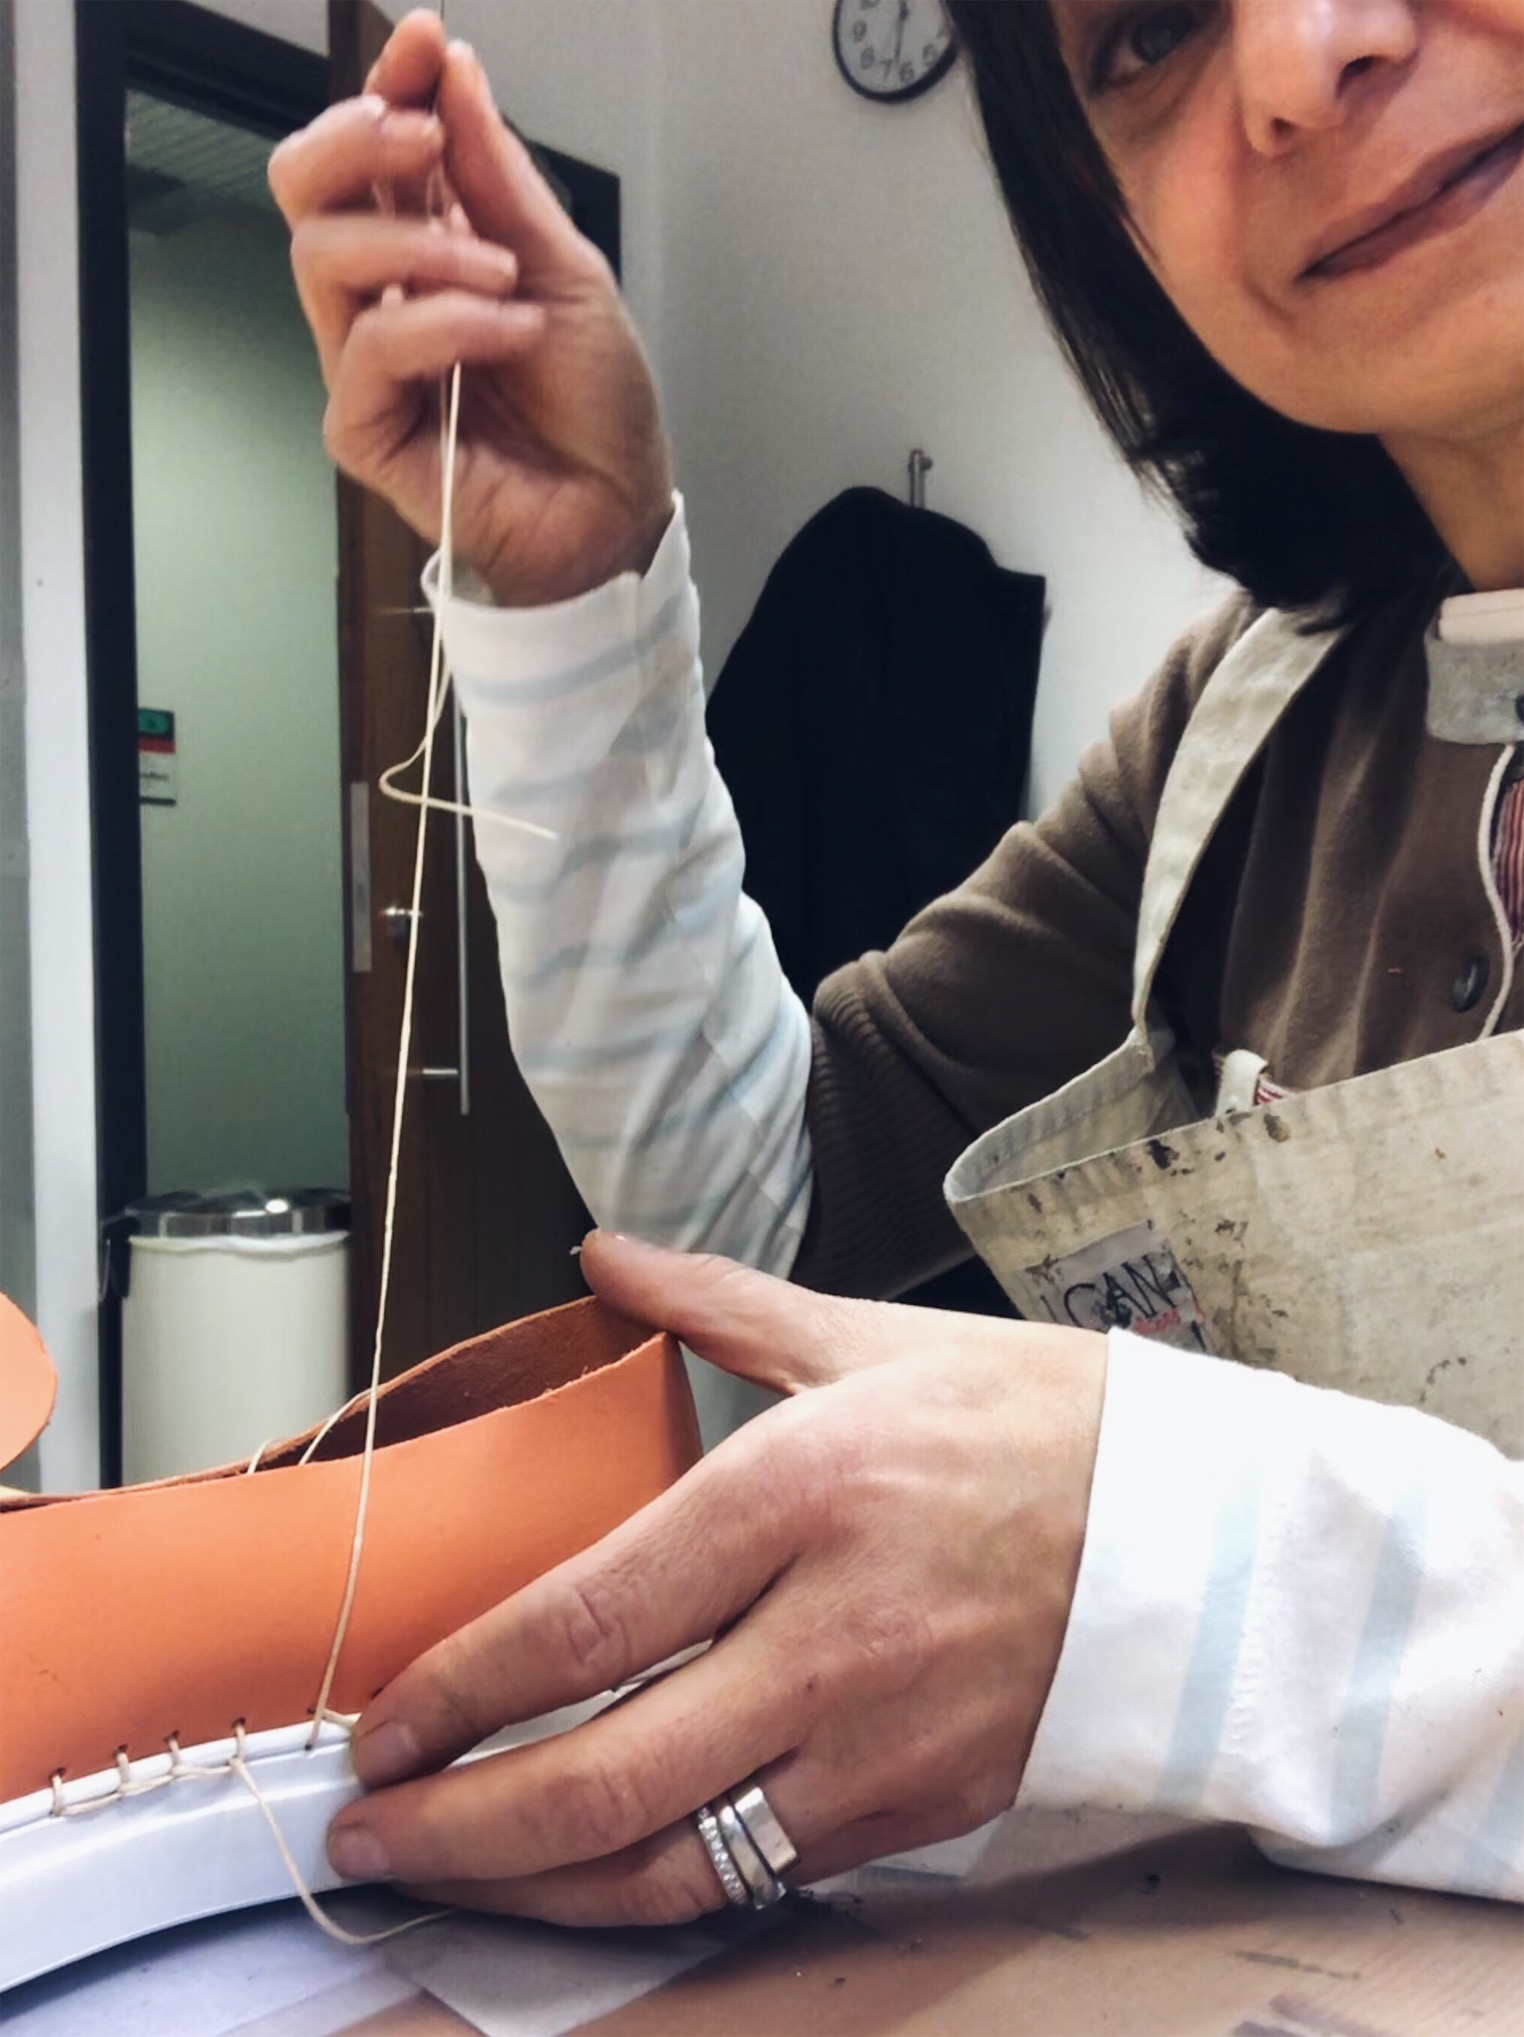
It was tough on fingers but the satisfaction that came with each and every single stitch was *immense*.
I now understood why so much time allowance was made in the course for this final step.
And the overwhelming joy I felt at the end of the day, when I tried on the sneakers – hole punched, glued, tacked, skived and sewn, all by very own (a little pinker, perhaps slightly purple fingered) fair hand… well, it was an out of this world feeling!
I absolutely loved seeing my creation come together, and enjoyed the quieter therapeutic aspects of making the shoes right through to the slightly more frustrating side of things (as in awkward sewing bits)…
… as soon as I’d finished, I wanted to do it all – all over again!
Observations:
- It felt like the sneaker soled shoe making was a little more straight forward than what looked to be a more involved process of the traditional flat soled shoes, however, when I mentioned this at lunchtime to one of the ladies making flat shoes, she said she’d been thinking the opposite!
black soled sneakers in progress…
- Although it’s always going to be beneficial if you’ve had previous hand sewing / sewing machine experience, it’s not a prerequisite! The teachers set the machine up and guide you through each and every single stitch, if required and were brilliant at making you feel at ease.
- It’s not just women who want to make their own shoes: we had a man on the sneaker soled course!
- Don’t get a manicure just before doing the course… take a look at my grubby thumb here, at the end of day 1:
At this point I’d like to thank Amanda for offering me what was a dream-come-true opportunity, I feel very, very lucky.
I was also lucky enough to be able to stay over in London without the expense of paying for a hotel – I stayed with my ex-flatmate, in what was my ‘old room’ which I rented many moons ago and got the chance to catch up with a few old friends in the evenings, making the most of my very enjoyable weekend away.
My Weekend Simple Sneaker Making Course and the Weekend Flat Shoe Making Course both cost £350 for the two day course, including all materials and pattern (although if you were interested in creating your own pattern, there is a 3 day Intensive Shoe Making Course £625.) as well as others, including Boot Making!
I Can Make Shoes also offer Online Courses & Patterns (for both shoemaking and shoe design) and a well stocked online shop of Shoe Making Supplies.
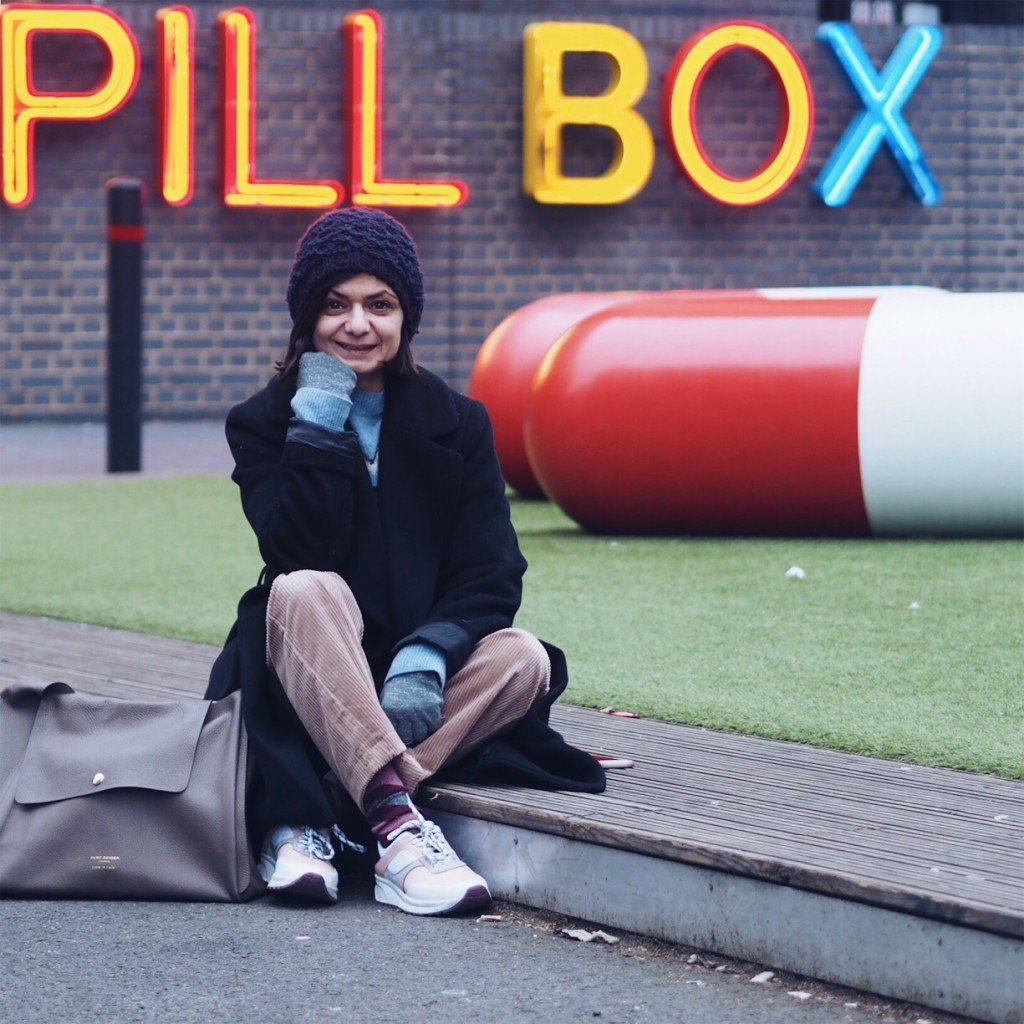
I’m currently thinking about utilising my new found confidence of working with leather and making my own leather tote although at some point, I’d love to return to Pill Box Studios for another I Can Make Shoes course.
Speaking of which (… fanfare please!) Amanda has very kindly offered up a Giveaway prize of a short course for one of my Instagram followers & a friend: keep your eyes peeled for this fab giveaway on my Insta this week!
Thanks for reading – if you have any questions about the course, please leave a comment and I’ll get back to you.
And remember: keep an eye out for that Insta Giveaway!
Bean x
Please Note: I was under *NO OBLIGATION* to write this blogpost, Amanda very simply and kindly offered the course to me as well as the giveaway prize. I enjoyed the course so much, I wanted to share my shoe making experience with you.
Oh, and… I forgot to include my finished shoes in my main post: I made these!
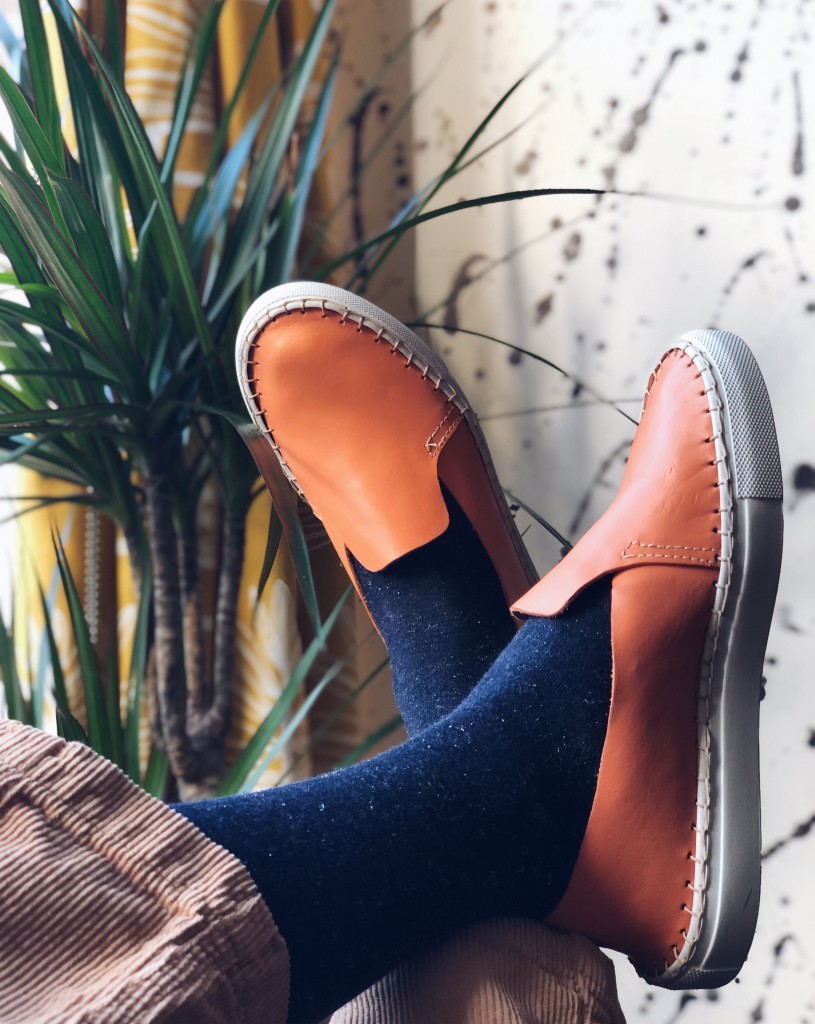
Lounging around at home in the shoes I made!

There Are 2 Comments
I absolutely love the idea of this course Bean! It would make an excellent gift (like self gifting ) I will definitely be entering the give away!!
T x
Thanks for popping over Tracey, blog comments are always the best!
The course would be right up your crafty street – I want all my insta friends to go on it! Xx